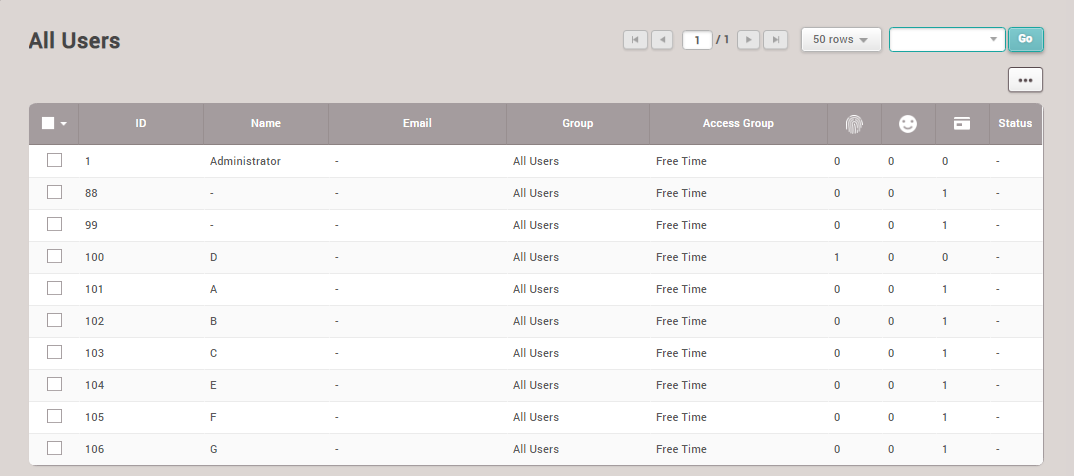
How to Import User
Step 1 Preparing sample data to import user
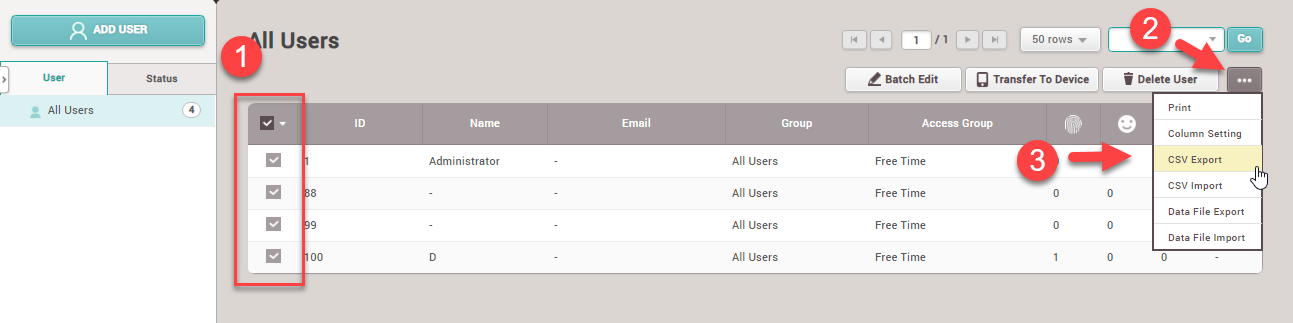
1.Select employees in the system by clicking the checkmark at the employee list, then click the menu button with fish icon shape and select the CSV Export section to get a sample file for creating employee data
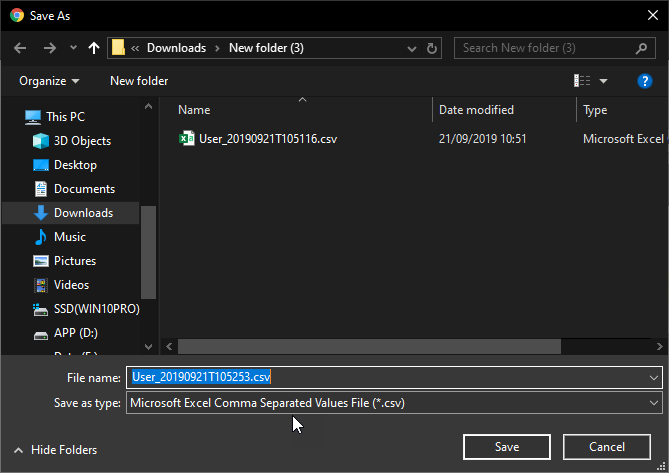
2.Select the file location used for creating employee data
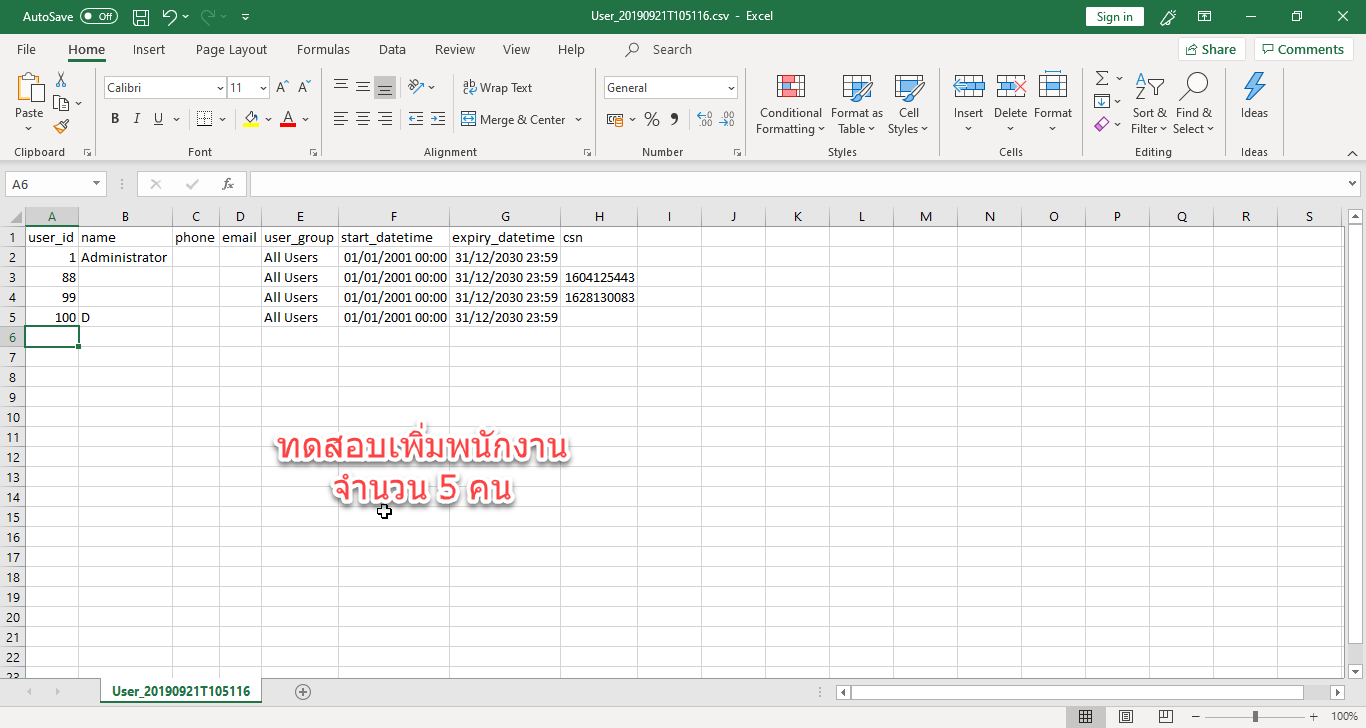
3.Sample details for data import
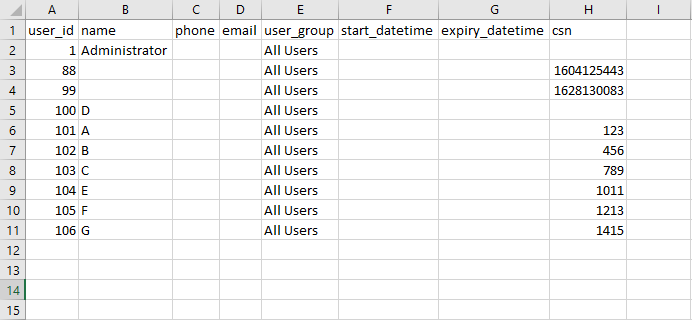
Column A = User_id Employee ID Column B = name Employee Name
Column C = Phone Telephone Number Column D = email
Column E = user_group Employee Group Column F = start_datetime Work Start Date
Column G = expiry_datetime Work End Date Column H = csn Card Number
Note: The important column that must be filled in is the User_id column
Step 2 Creating details for data import
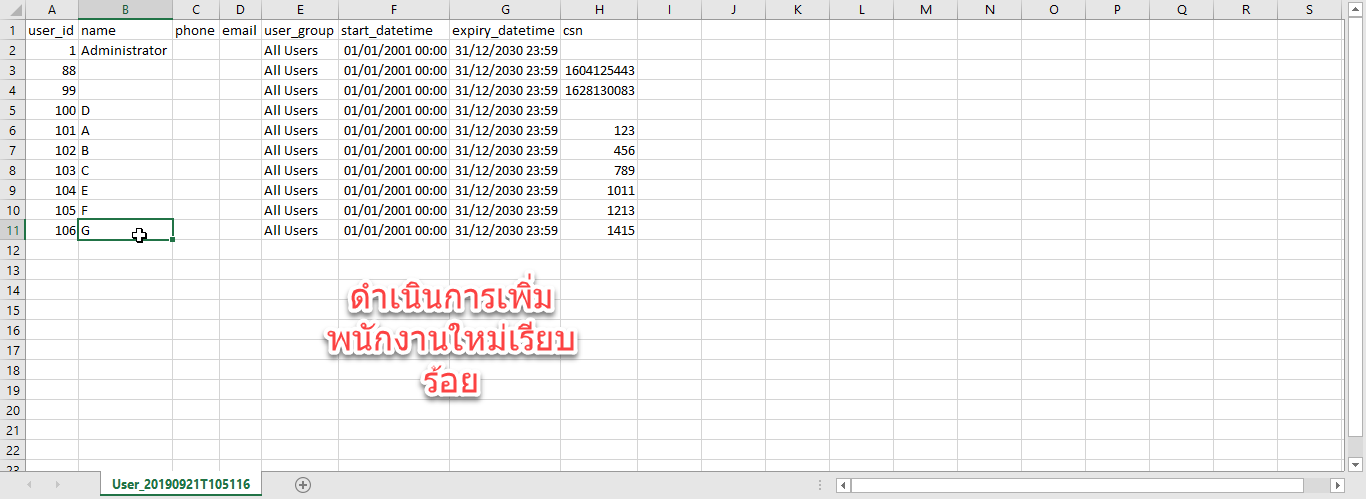
Example Adding 5 employees
Finished adding 5 employees
Step 3 Data Import
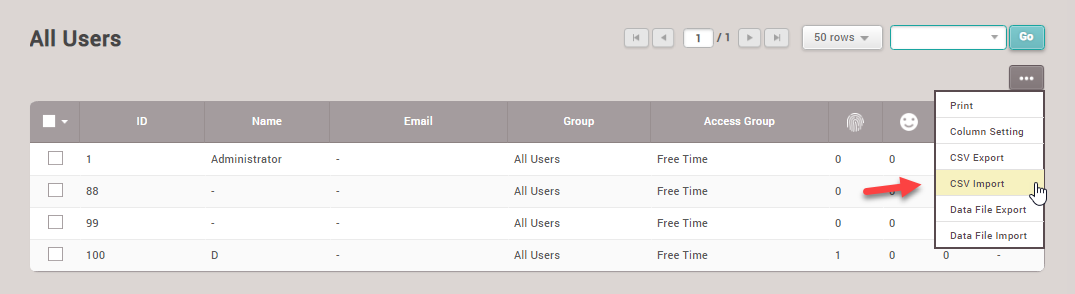
1.Select the CSV Import menu to import employee data
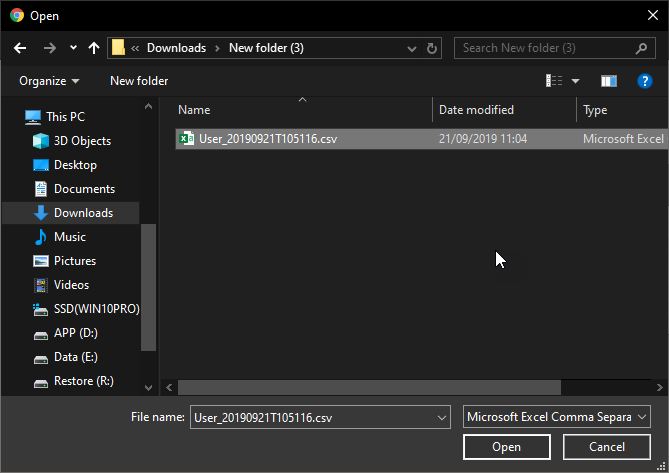
2.Select the file that has been filled with employee details
3.Click the Next button to import employee data into the system
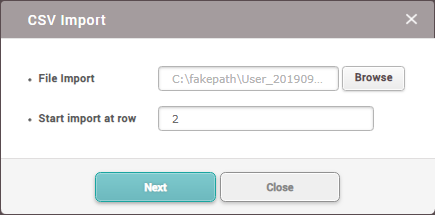
4.Select the column position for import to match the CSV file (the default value of the column will match the file exported from the system)
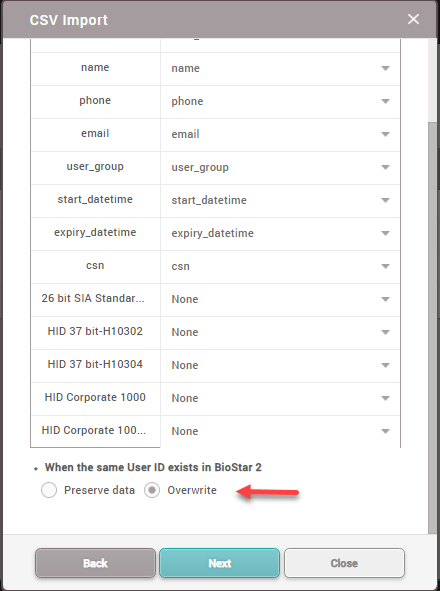
If the old data has no changes, select the Preserve data section to keep the original data
However, if there are changes to the original employee data during import, you must select Overwrite
From the example, since there are data changes, Overwrite is selected
5.The program shows data import completed
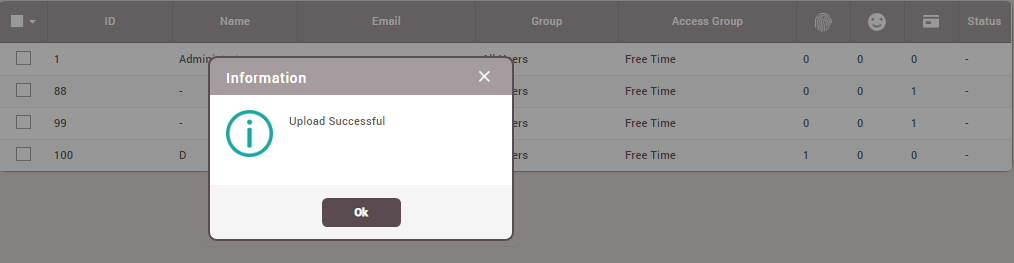
6.The program displays the list of employees that have been imported from the CSV file