Biostar2 Software Usage
SearchHow to Add User Group
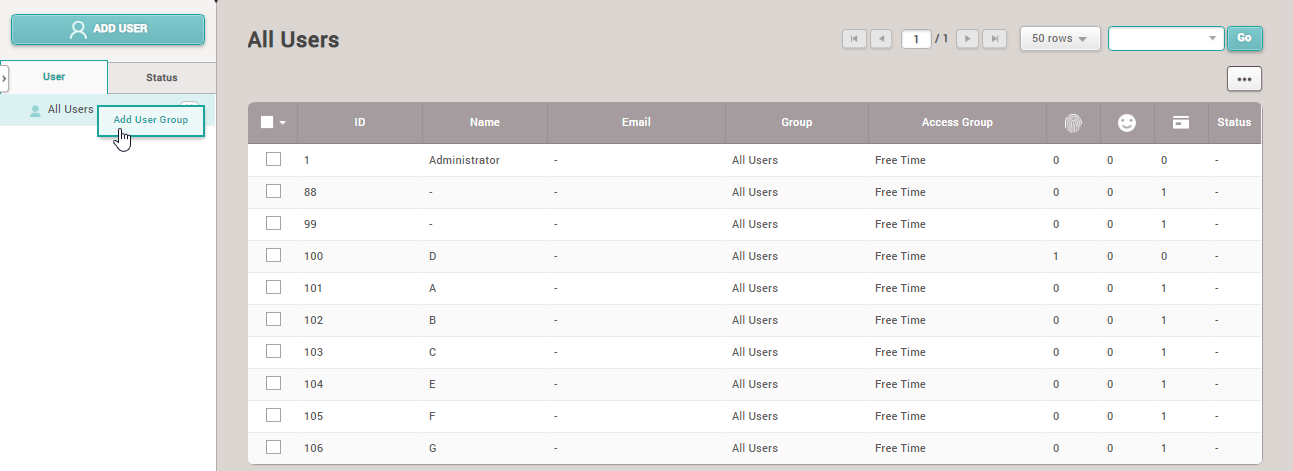
1.Right-click on All User then select Add User Group
Note: You can create a maximum of 8 levels of User Group and can enter a maximum of 48 characters for the User Group name
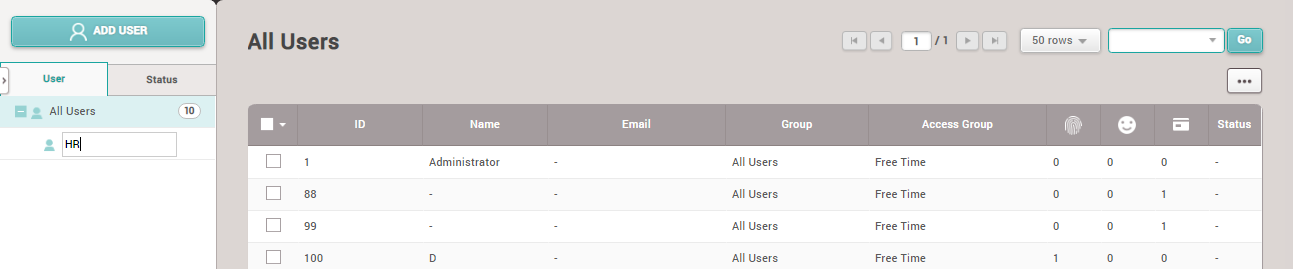
2.Enter the Group name
How to Add Employees to User Group
1.Click to select the employee you want to change the Group for
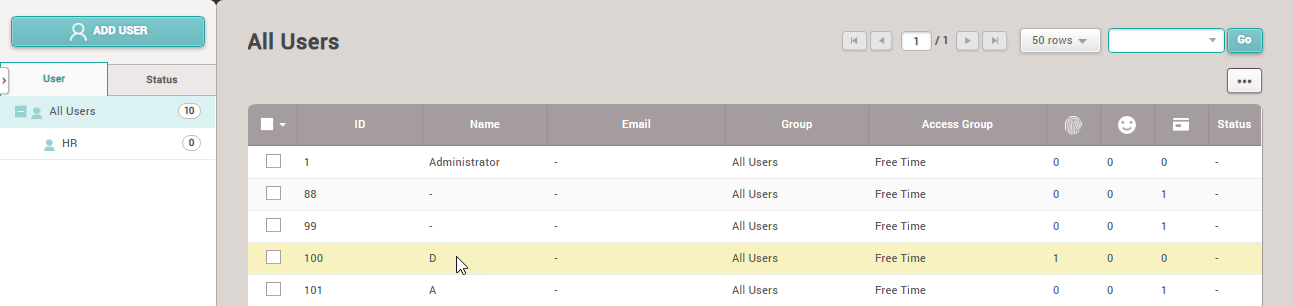
2. Click on the Group section and select the group you want to change to
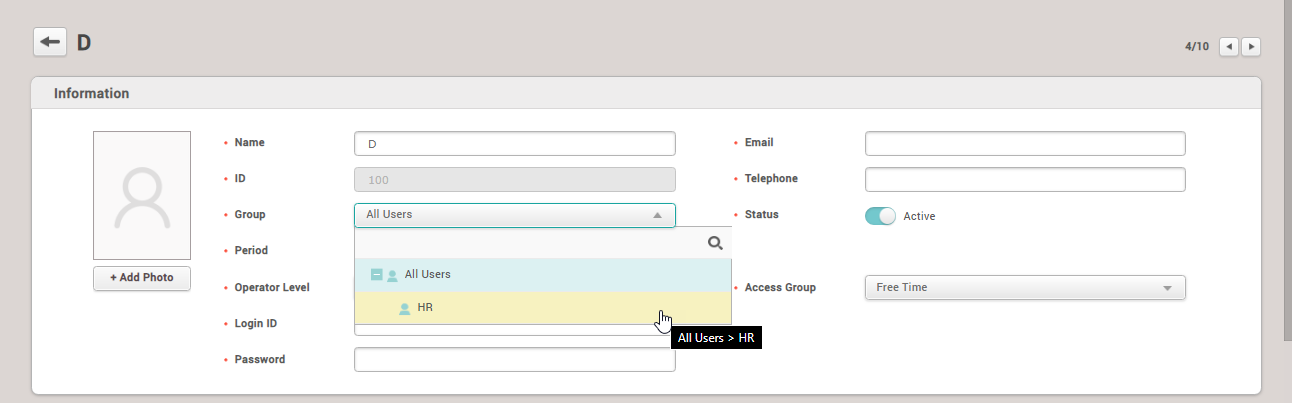
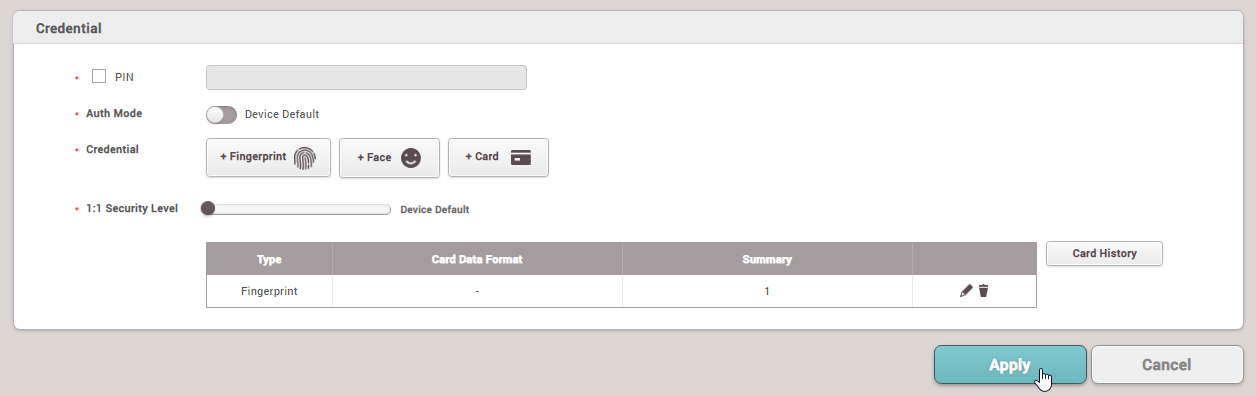
After selecting the group, click the Apply button
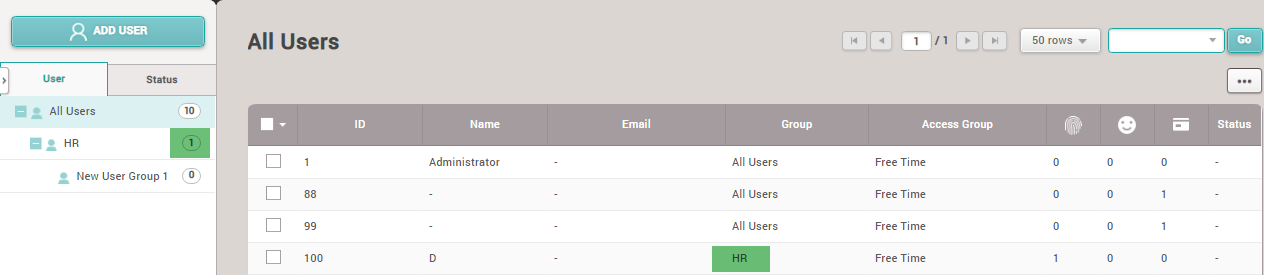
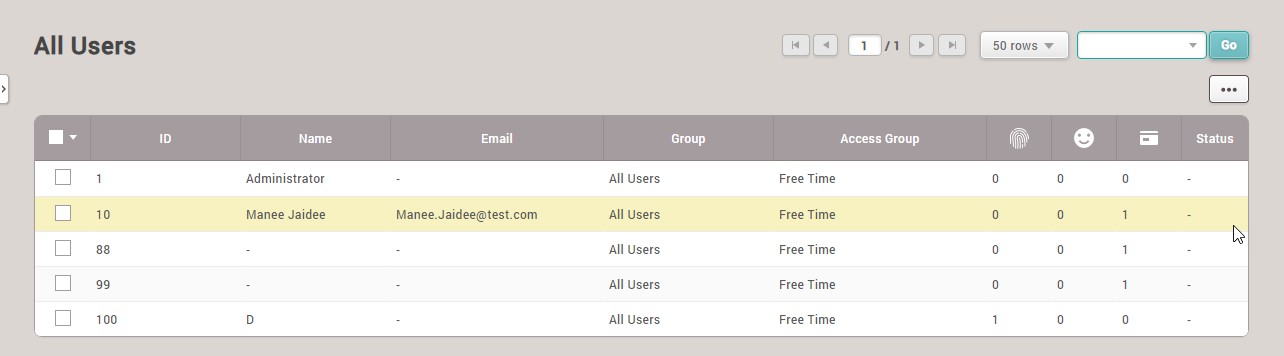
The program displays the details of the employee's user group change
How to Edit User Group Name
1.Right-click on the group name, select Rename User Group
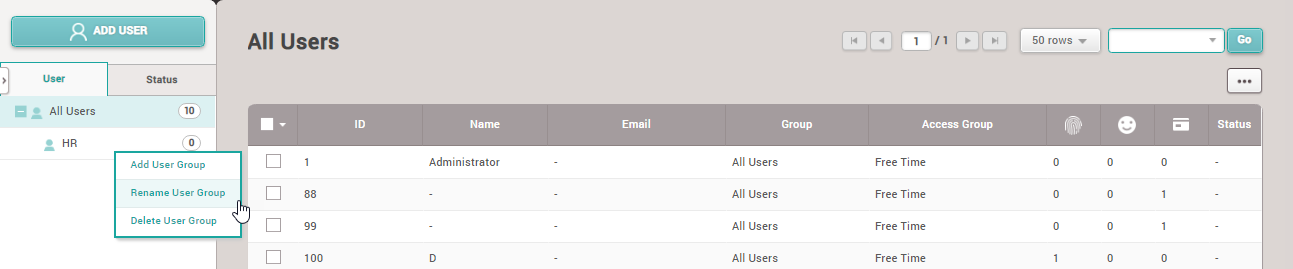
How to Delete User Group
Right-click and select the Group you want to delete, then click Delete User Group
Note: You can only delete a Group if there are no users in the group being deleted
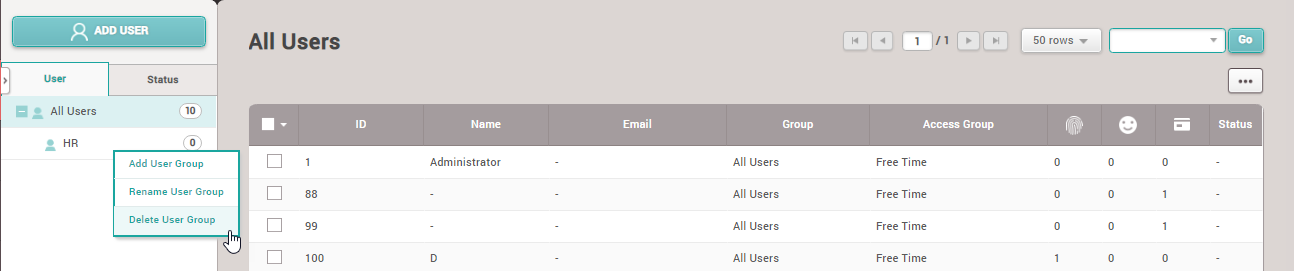
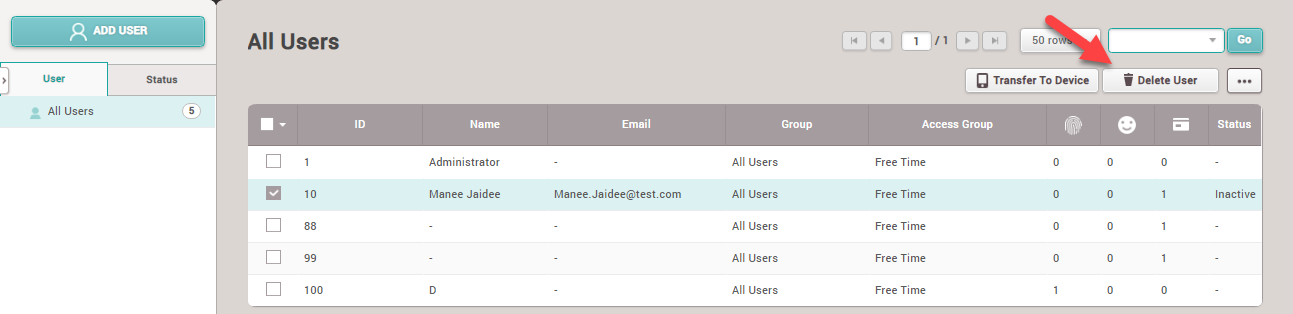
1. Select the employee you want to delete from the system and then click the Delete User button
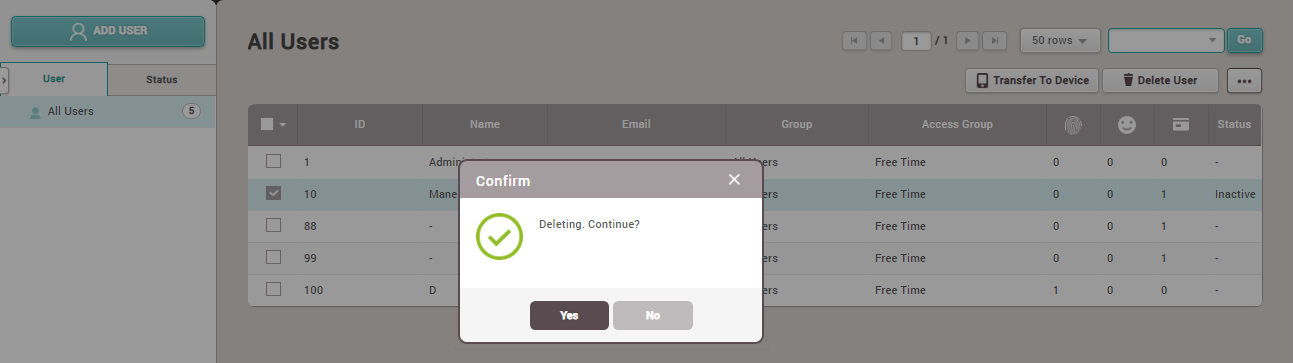
2. The system will display a popup menu to confirm user deletion. If you confirm the deletion of the employee, click the Yes button
3. The employee has been successfully deleted from the program
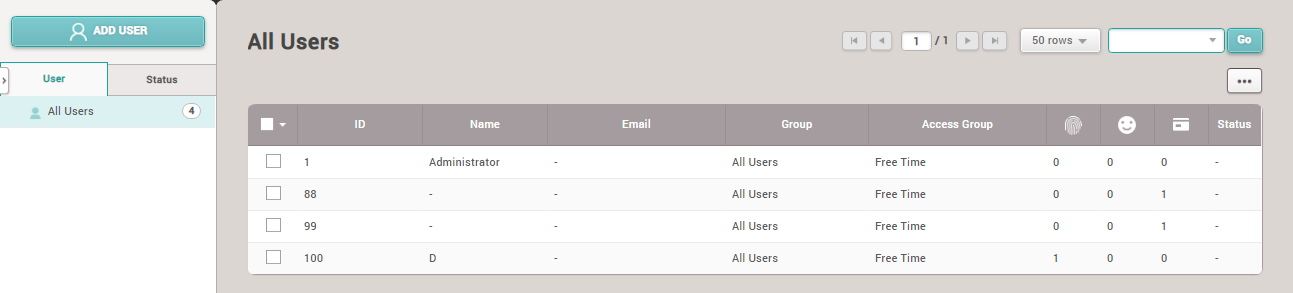
Step 1 Preparing sample data to import user
1.Select employees in the system by clicking the checkmark at the employee list, then click the menu button with fish icon shape and select the CSV Export section to get a sample file for creating employee data
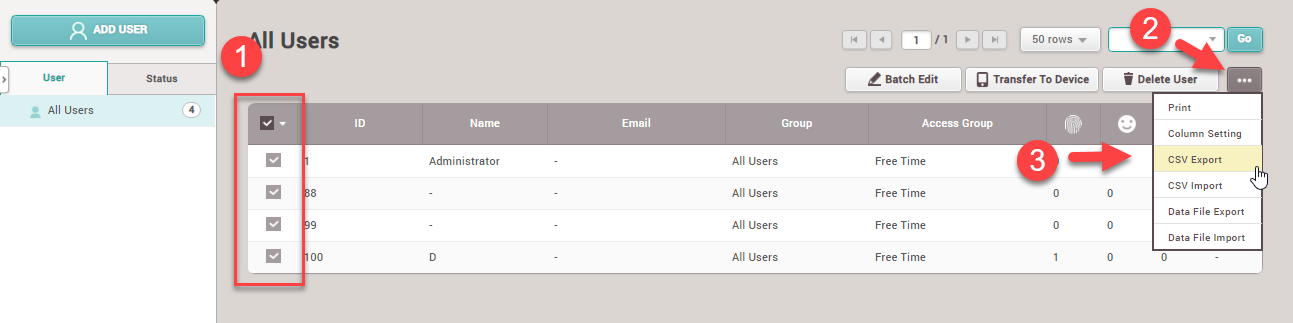
2.Select the file location used for creating employee data
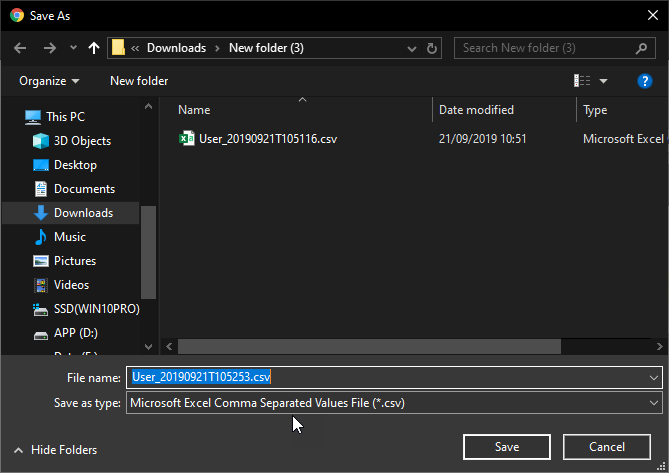
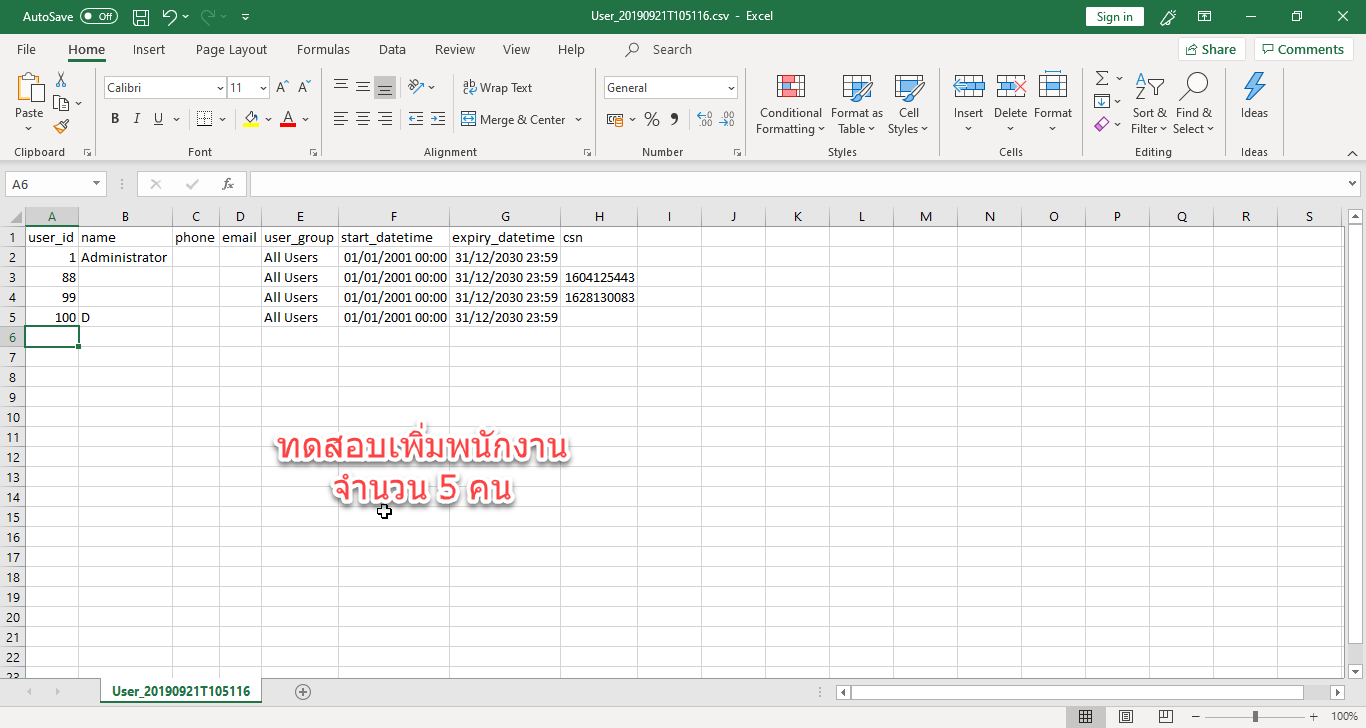
3.Sample details for data import
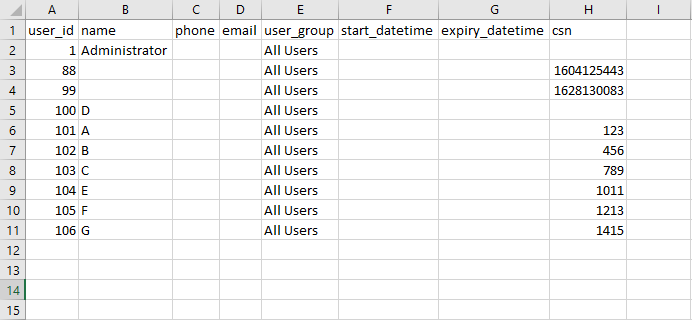
Column A = User_id Employee ID Column B = name Employee Name
Column C = Phone Telephone Number Column D = email
Column E = user_group Employee Group Column F = start_datetime Work Start Date
Column G = expiry_datetime Work End Date Column H = csn Card Number
Note: The important column that must be filled in is the User_id column
Step 2 Creating details for data import
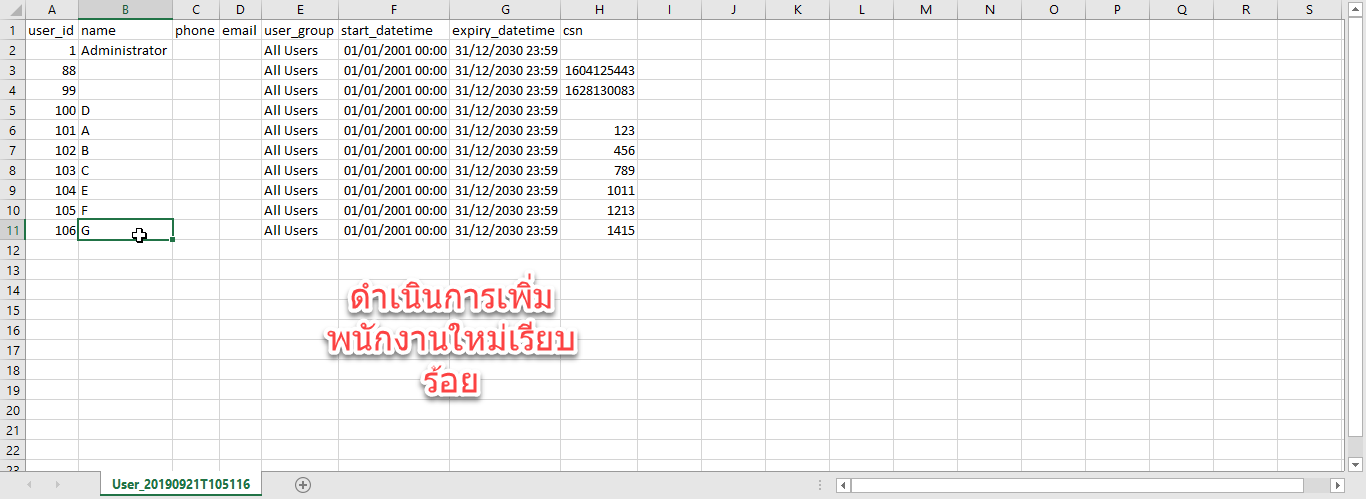
Example Adding 5 employees
Finished adding 5 employees
Step 3 Data Import
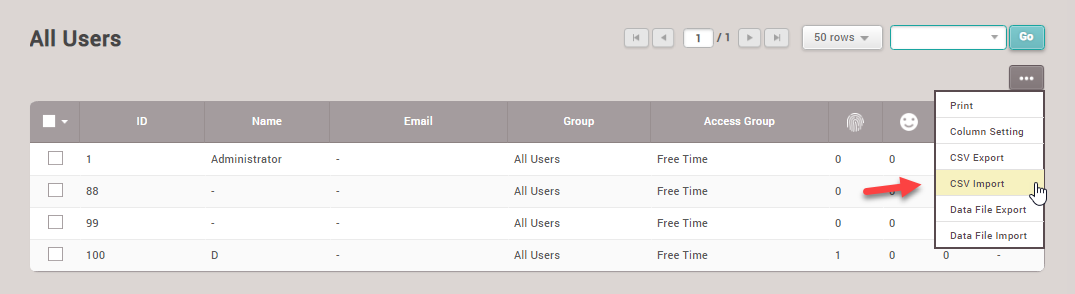
1.Select the CSV Import menu to import employee data
2.Select the file that has been filled with employee details
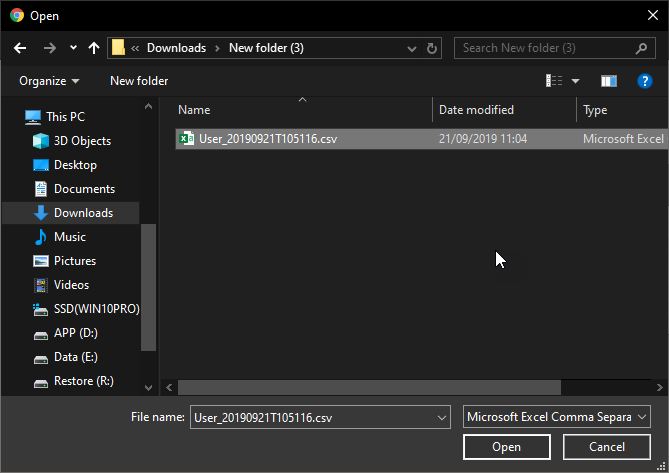
3.Click the Next button to import employee data into the system
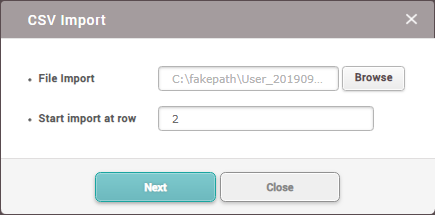
4.Select the column position for import to match the CSV file (the default value of the column will match the file exported from the system)
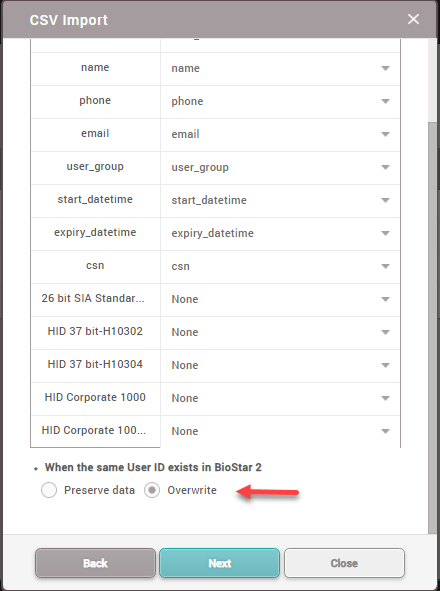
If the old data has no changes, select the Preserve data section to keep the original data
However, if there are changes to the original employee data during import, you must select Overwrite
From the example, since there are data changes, Overwrite is selected
5.The program shows data import completed
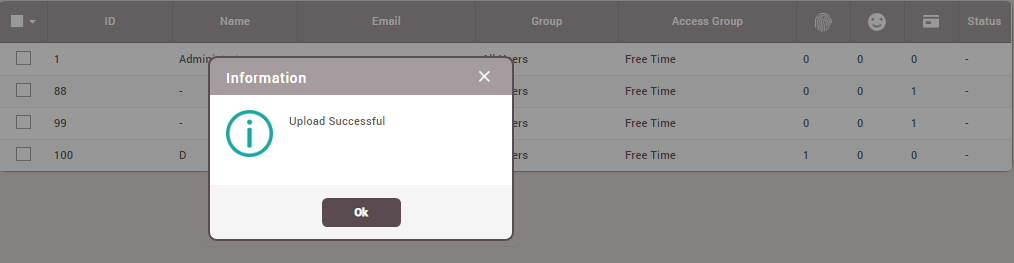
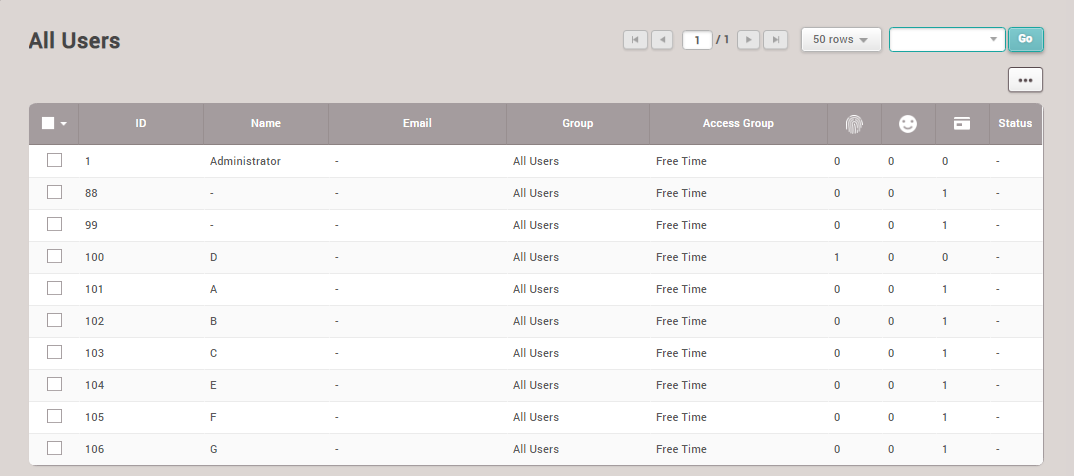
6.The program displays the list of employees that have been imported from the CSV file
1. Select the employee you want to deactivate
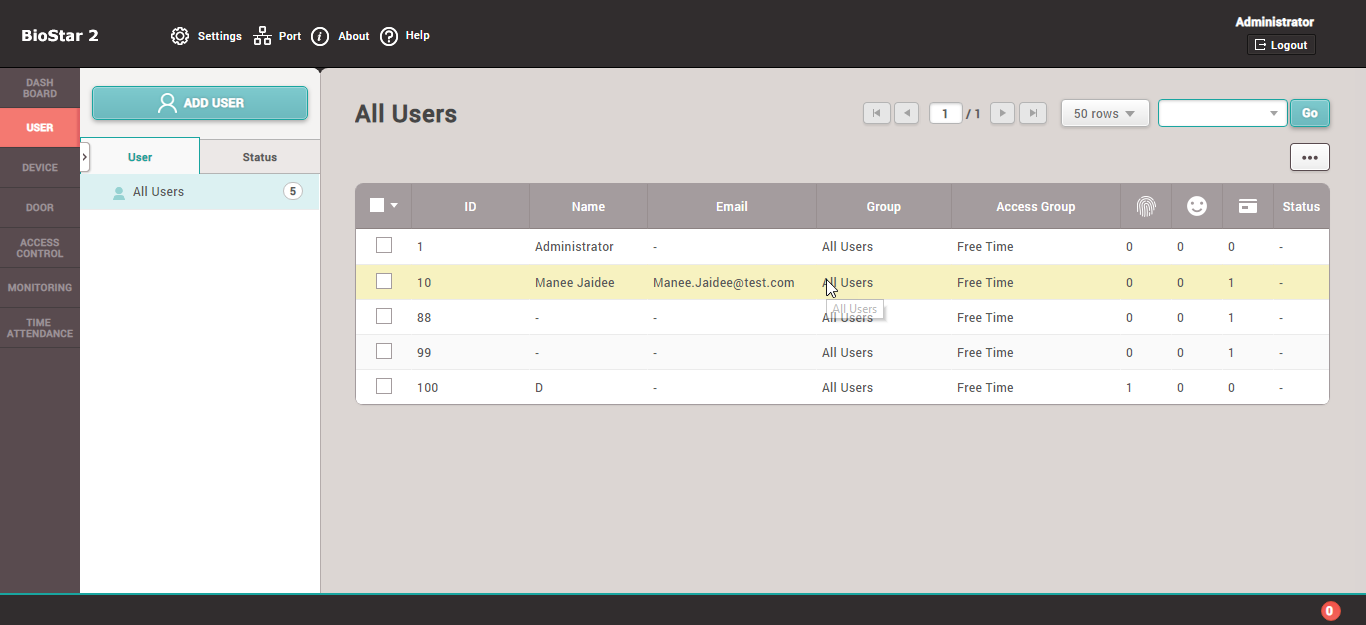
2. In the Status section, click once on Active. The menu will change to Inactive
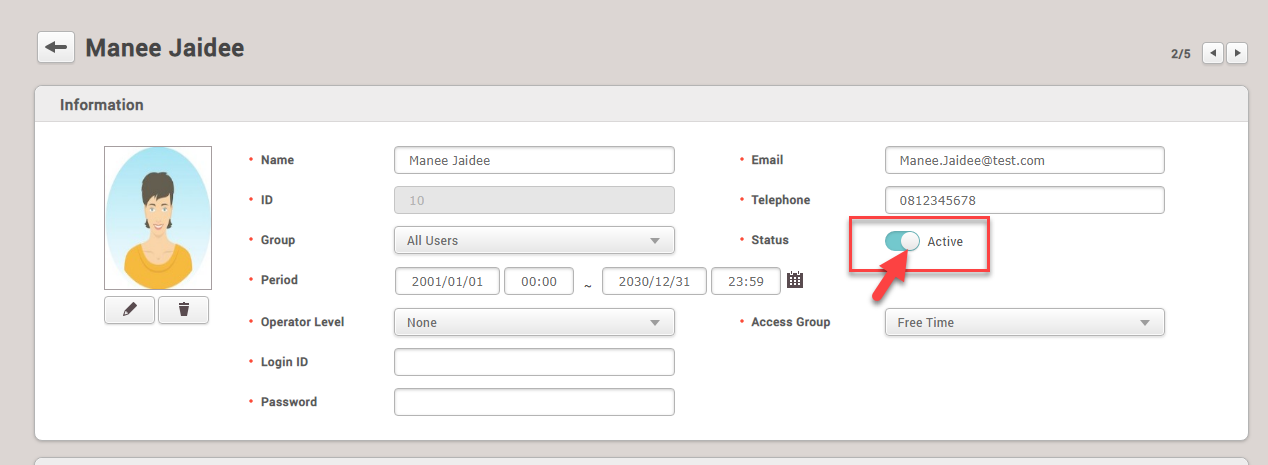
Then click Apply
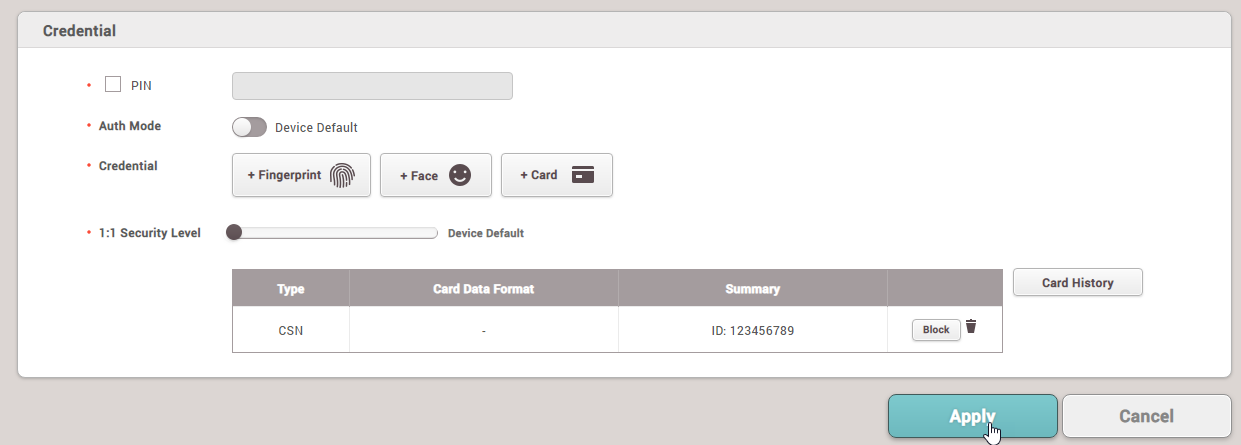
4. The employee's status will be changed to Inactive (access suspended)
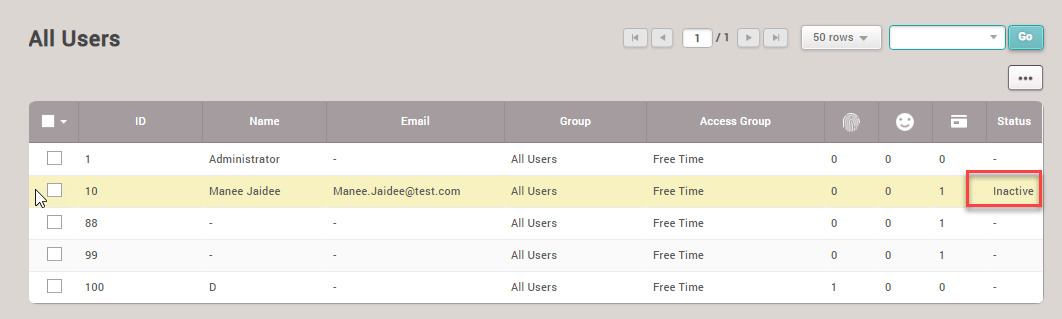
1. Select the User menu > Add User to add an employee to the scanner device
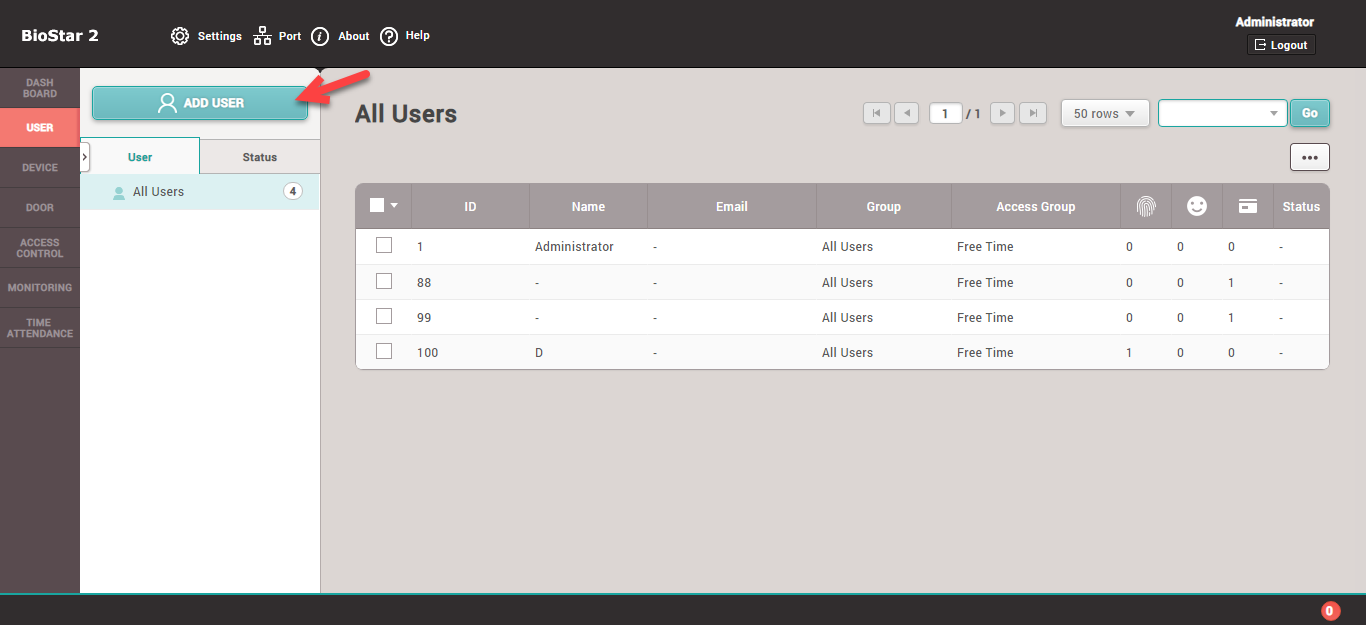
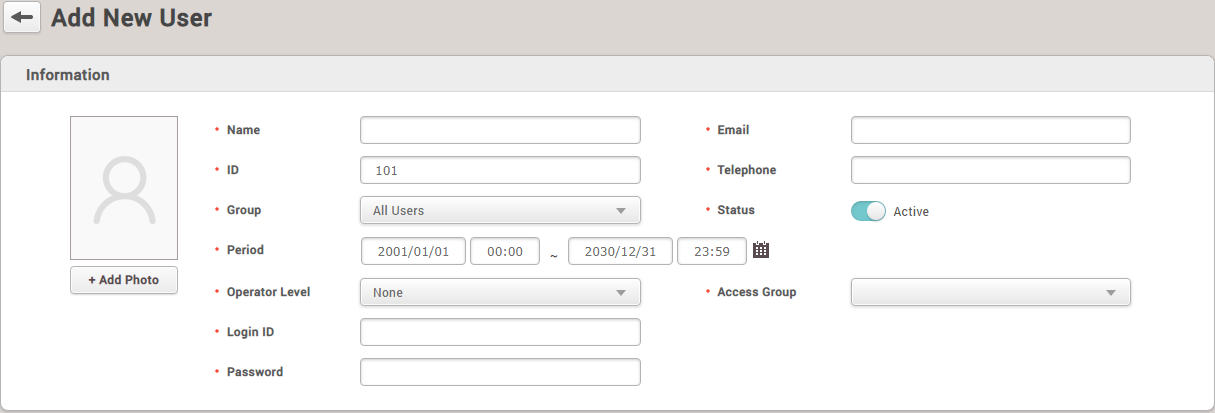
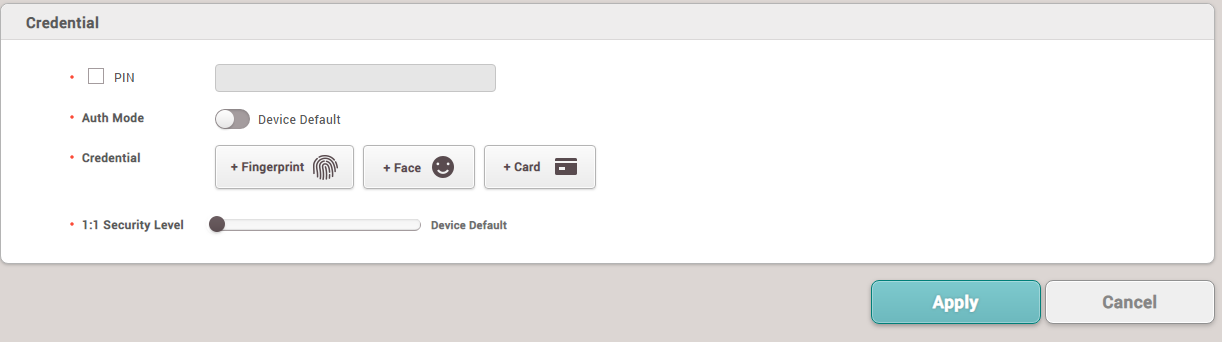
2. The program will display a menu to enter employee details, which is divided into 2 sections
2.1 Employee details section
2.2 Section of materials used to identify employees, such as password, fingerprint, face, RFID Card
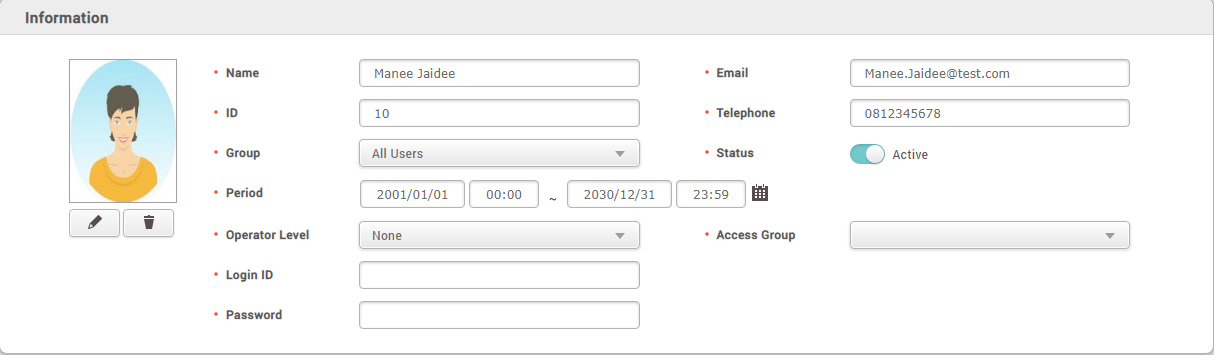
Example of filling in employee details
How to add a Card to the system
1. Select the '+ Card' menu to enter card details
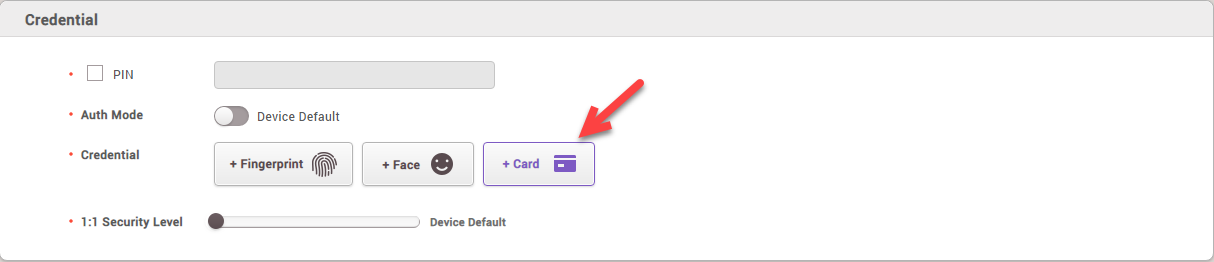
2. The program will display the Enroll Card menu to register the card with the employee by selecting the Registration Option > Enter Manually
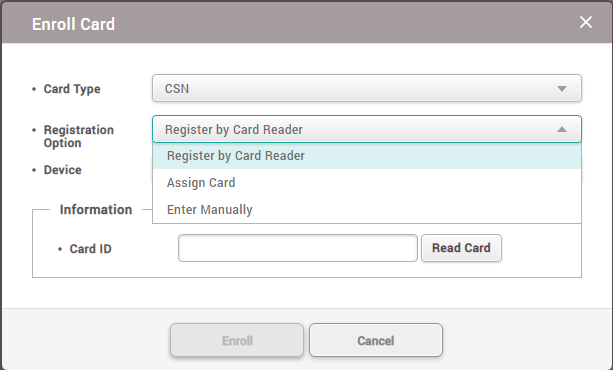
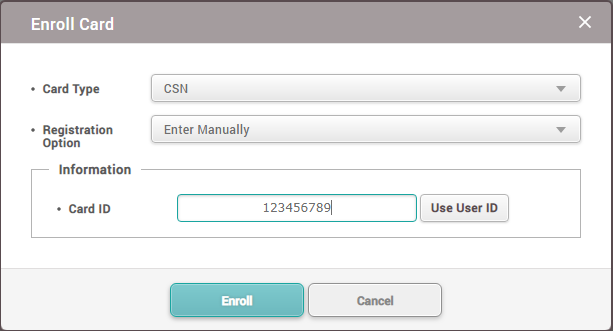
3. Enter the card number, such as '123456789' and then press Enroll
4. The program displays a screen after adding the card to the system, then press the Apply button to confirm adding the employee to the scanner device system
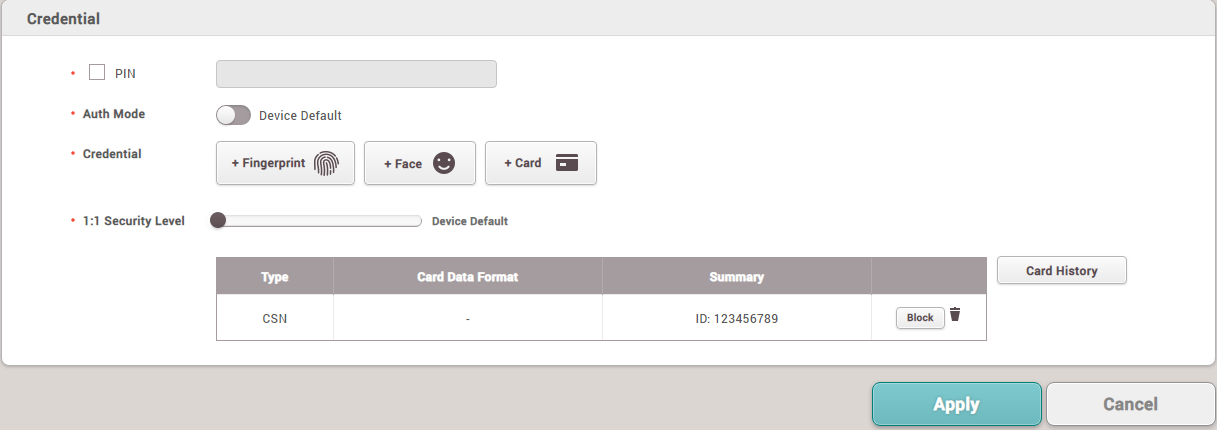
5. Successfully added the employee to the system
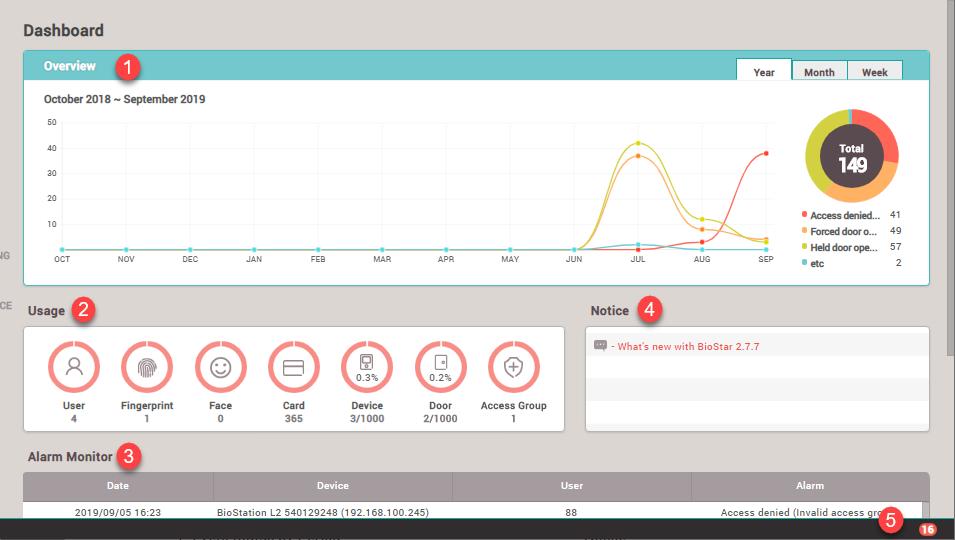
- Overview displays the status of various system events such as door left open, no door access permission, door opened abnormally
- Usage displays employee details
- Alarm Monitor screen displays alerts
- Notice notifies program update details
- Alert List list of alerts
1. Double-click the Biostar2.exe installer

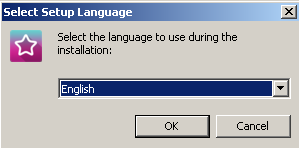
2. Select the language and click the Ok button
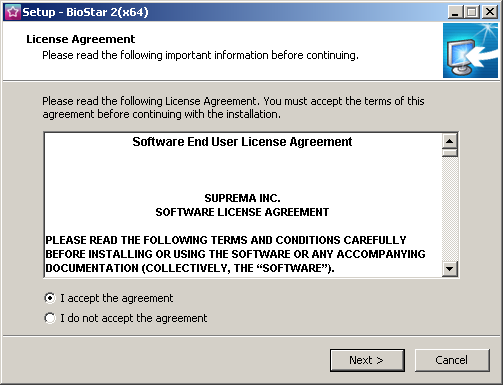
3. Select the I accept the agreement section and click Next to proceed with the installation
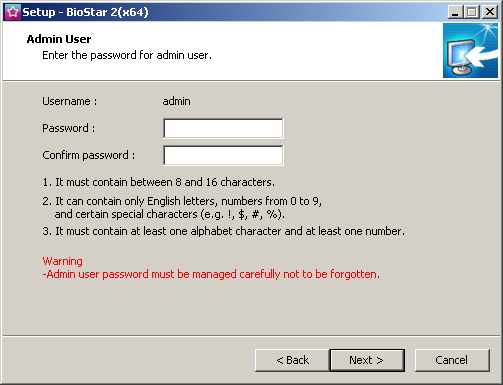
4. Enter a password to login and use the program (enter a combination of numbers and letters)
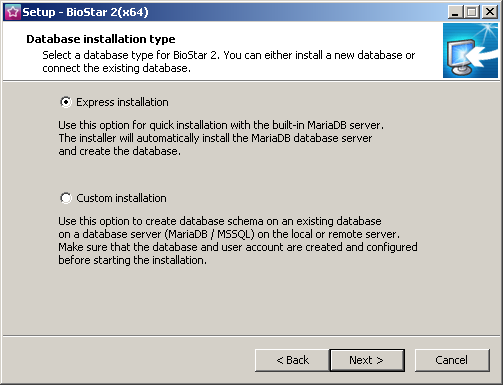
5. Select Express installation and click Next
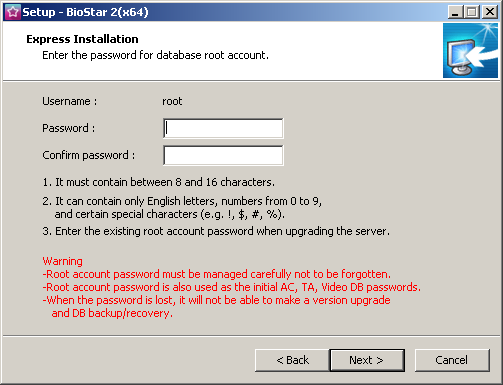
6. Enter a password to login to the MariaDB database (enter a combination of numbers and letters)
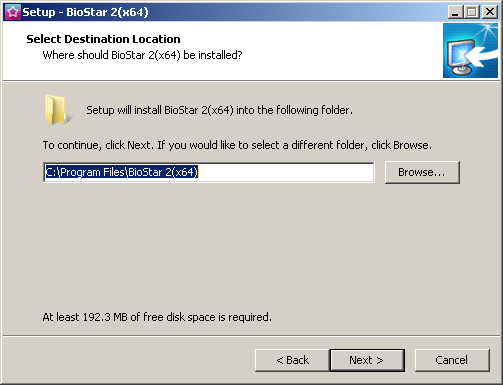
7. Select the installation location for the program and click Next
8. Configure the Port for Software connection (If Port 443 is already in use, change it to Port 450 instead) and click Next
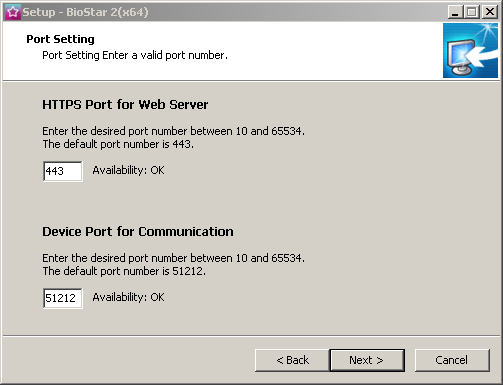
9. Confirm the Software installation and click the Next button
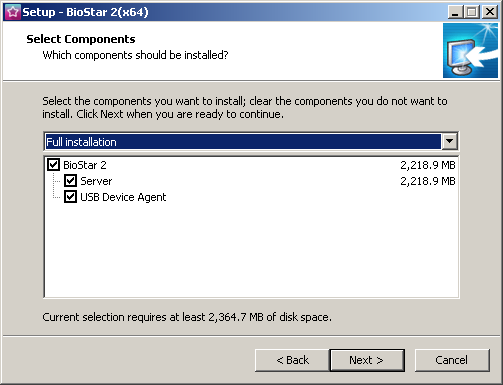
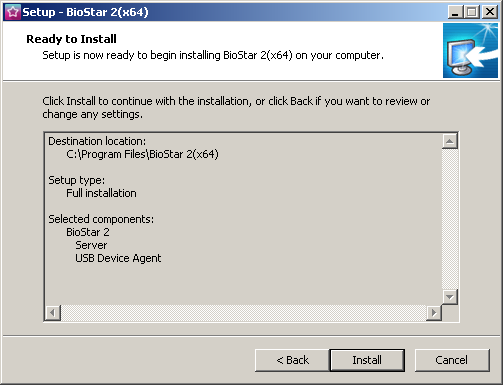
10. Click Next to begin the program installation
11. Wait for the program to install
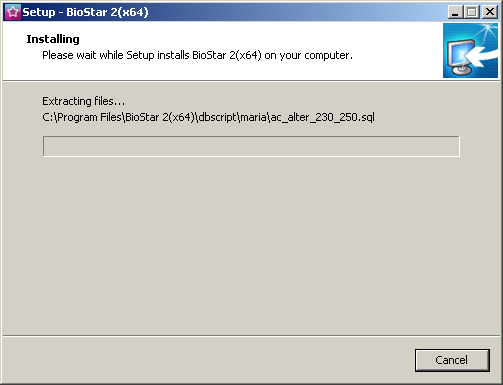
12. The screen shows the database creation. Wait until it disappears on its own, do not close it
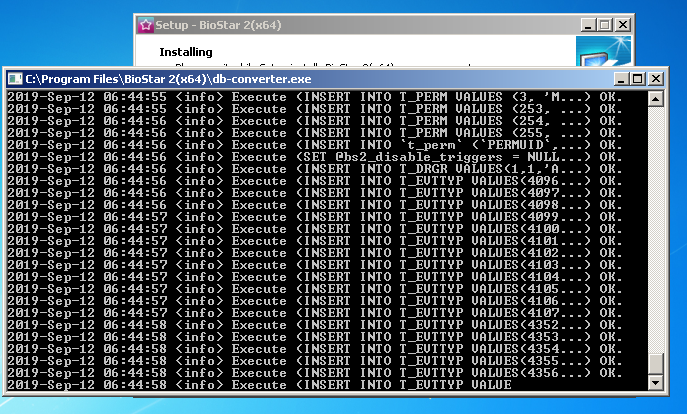
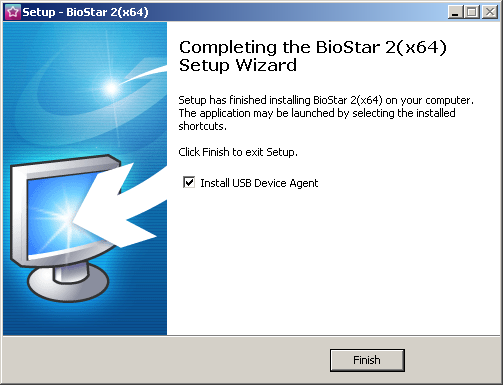
13. Program installation is complete, click Finish
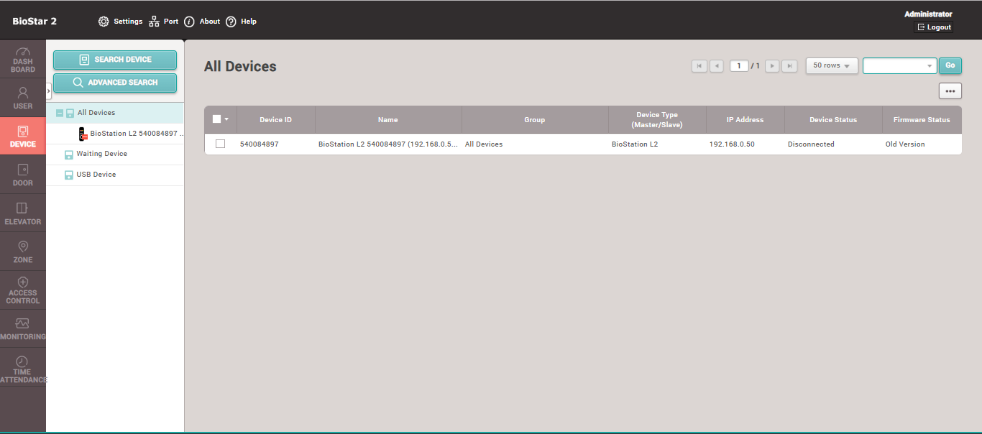
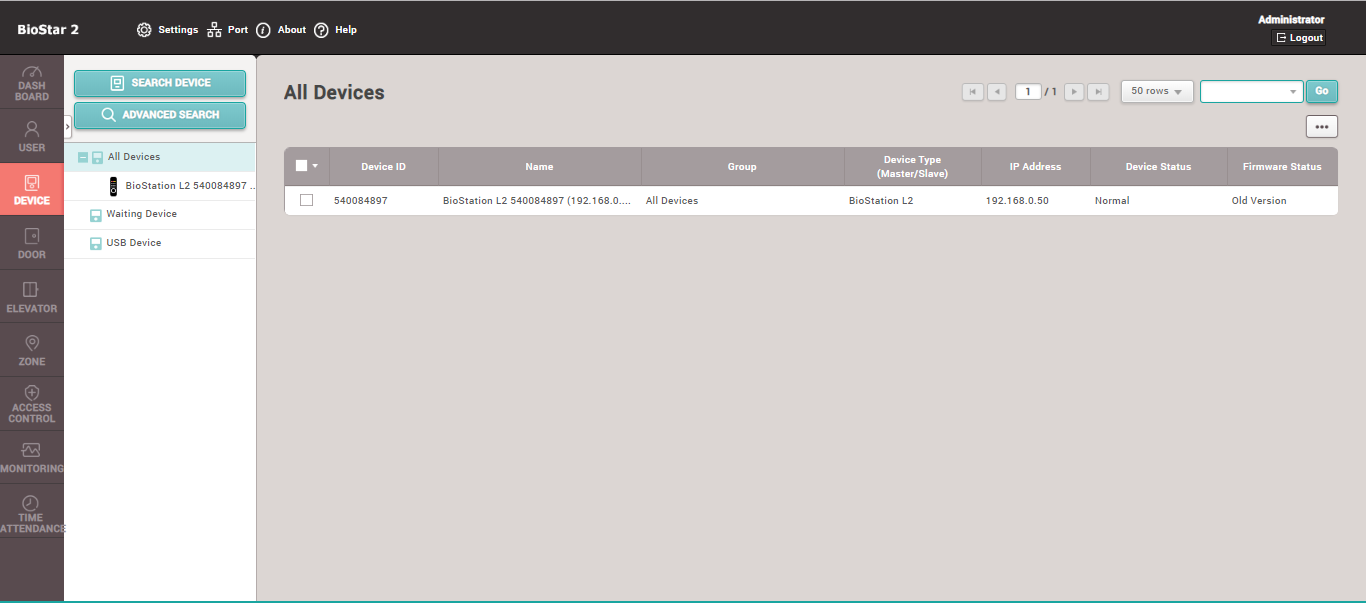
If the Device status is normal, you can check it in both formats as follows:
1. The status from within the BioStar 2 program at the Device Status field will show as Normal
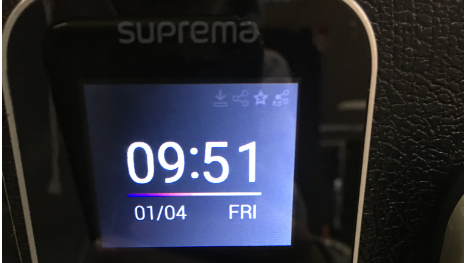
2. The status on the Device screen will display symbols as shown in the image: three circles representing normal LAN cable status, and an S-shaped star representing normal connection to the Server device
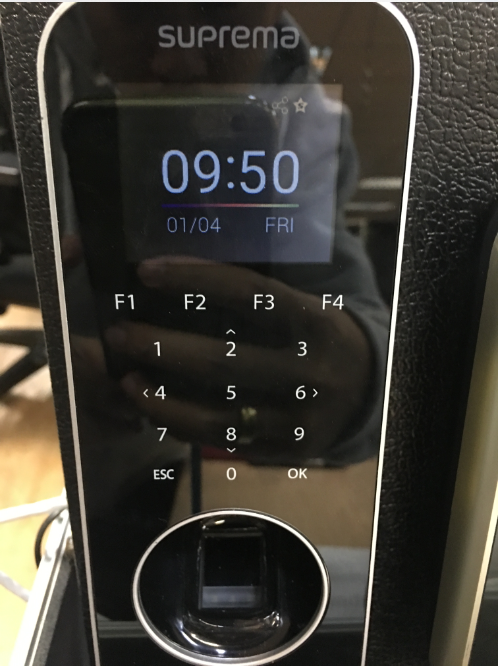 3. If the S-shaped star is missing as shown in the image, go back to check the BioStar2 Program to see what the device status is. If the status shows normal, you must go back to the Device screen at the Network/Server menu to check if the settings are correct
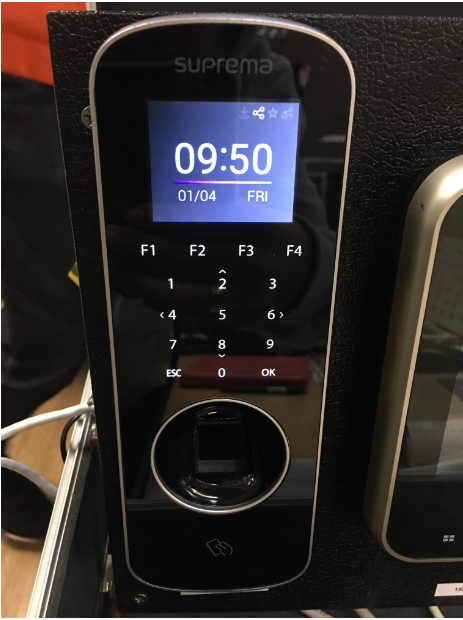
4. If the status in the BioStar2 Program shows Device Disconnect as in the image, check by Pinging the Device IP such as Ping 192.168.1.201 to verify if it is found or not. If not found, it indicates a problem with the LAN cable or the Device IP has changed. Check the device first at Device / Network to see if the IP is correct