How to Use the Soyal Scanner Software
Search
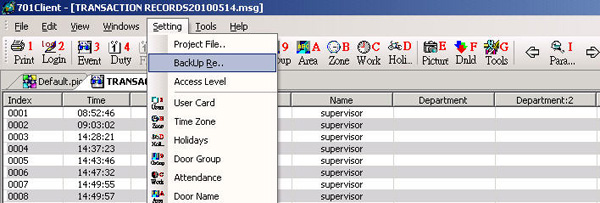
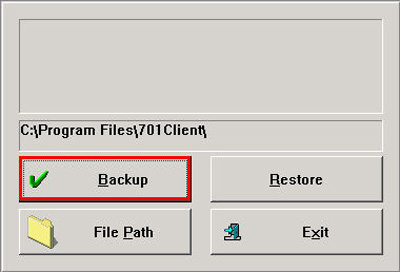
Go to the Setting menu and select Back Up Restore
Then press the File Path button and select the storage location and press the OK button
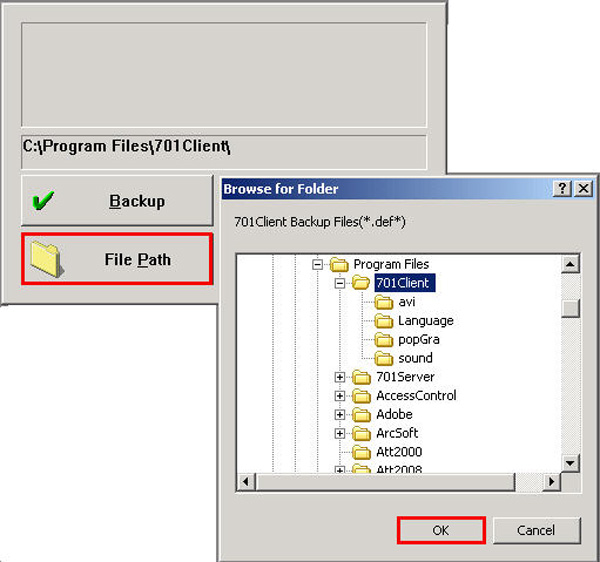
Then press the Backup button
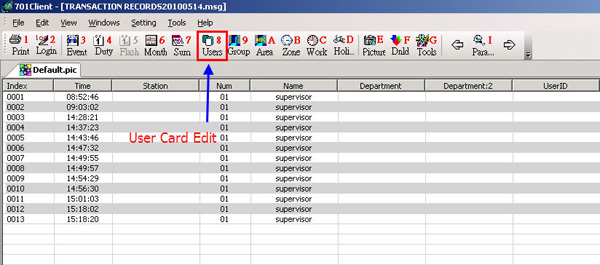
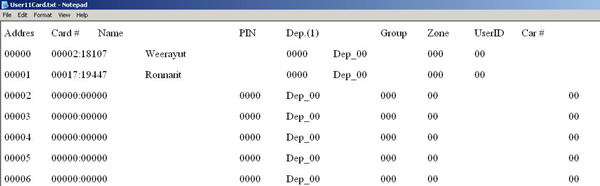
Go to User Card Edit menu
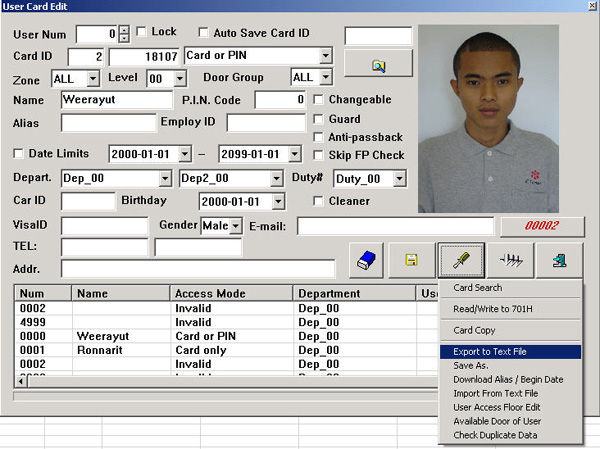
Click the Tool box button and select Export to Text File
Then select where you want to save the Text File of the employee list
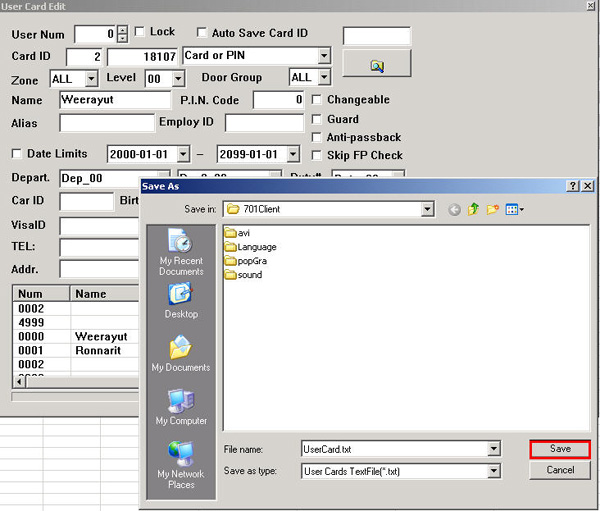
Then you will get the Text File of the employee list
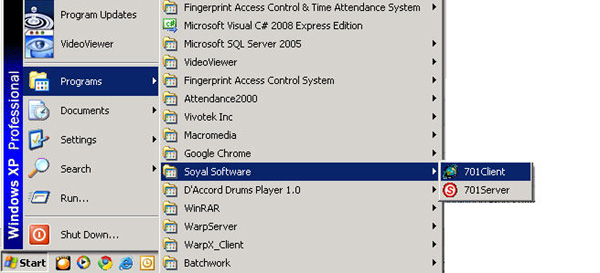
Click Select Start > All Programs > Soyal Software > 701 Client
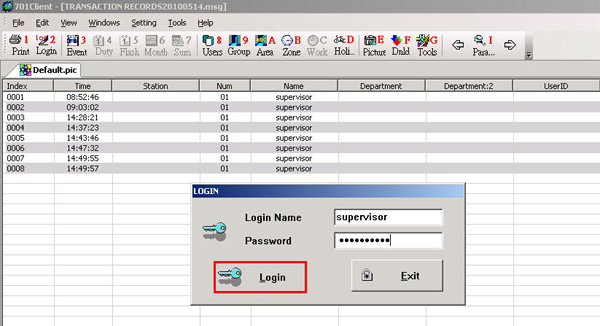
Enter username and password then click the Login button
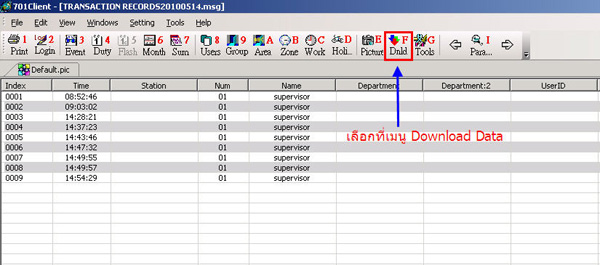
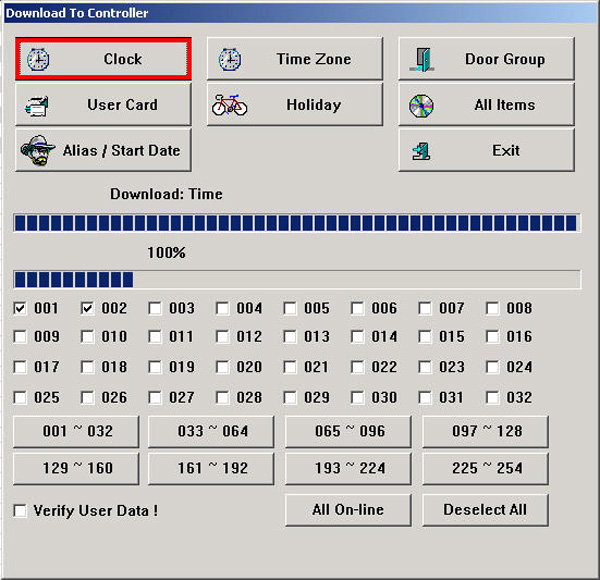
Select the Download Data menu
Select the device you want and set the time of the card reader to match
the computer by clicking the Clock button. When the data is sent, click the Exit button
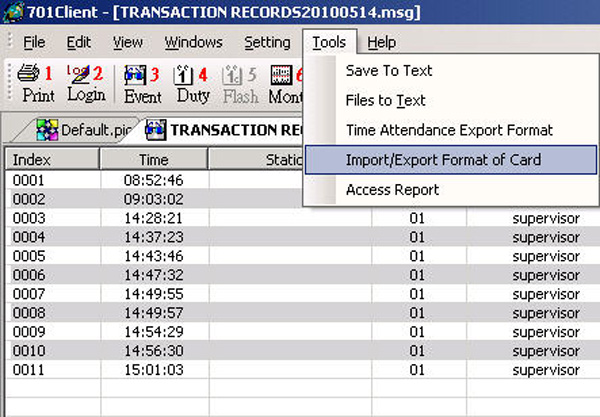
Select the Tools > Import / Export Format of Card menu
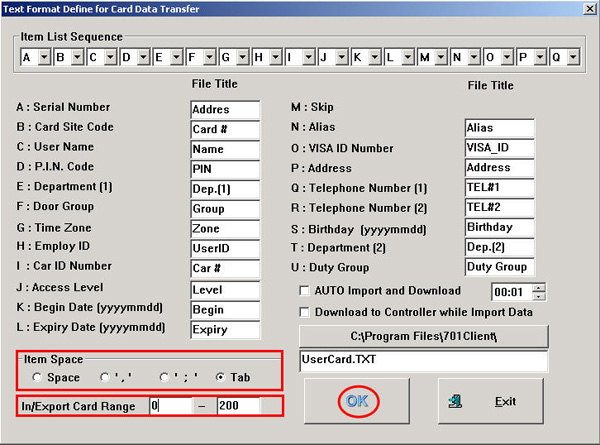
Go select Item Space and check the Tab section
then in the In/Export Card Range section, enter the starting card information
and the ending card, then click the OK button
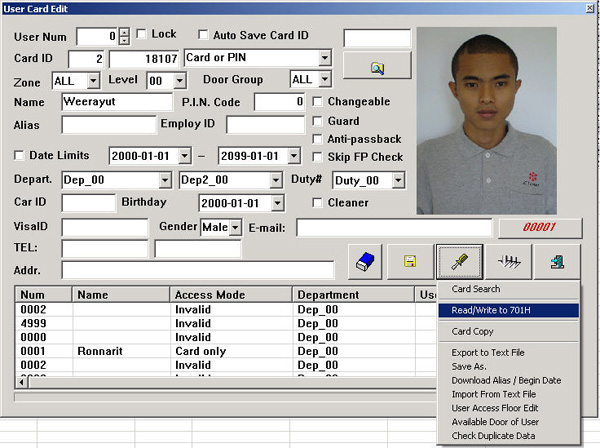
Then go to the User Card Edit menu
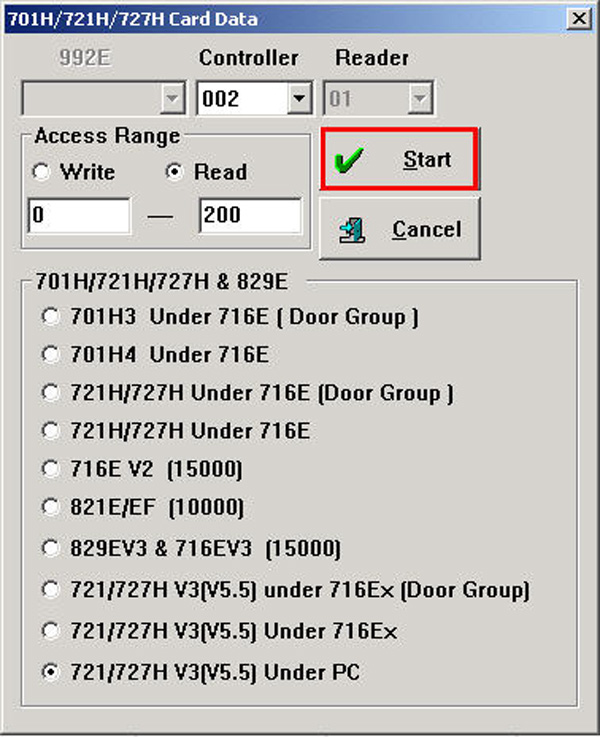
Click the Tool Box button and select the Read / write to 701 H section to extract card data from the scanner
Select the scanner > Select 721/727 H V3(V5.5) Under PC > Read >
then enter the starting card you want to extract data from and the end of data extraction, then click the Start button
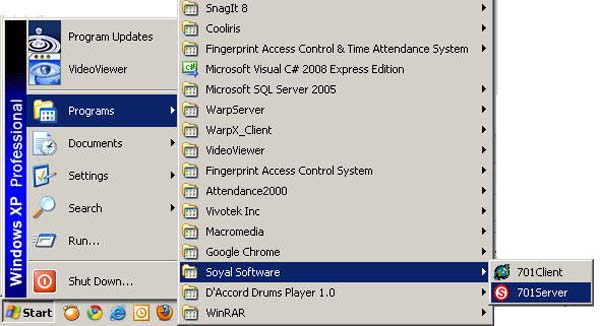
Click on the Start menu > All Programs > Soyal Software > 701 Server
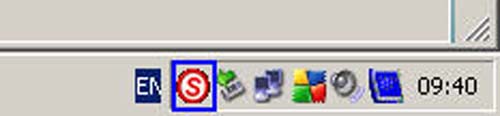
When you open 701 Server, an icon with the letter S will appear in the menu bar at the bottom right
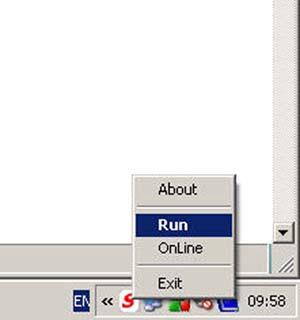
Right-click on the icon and click Run
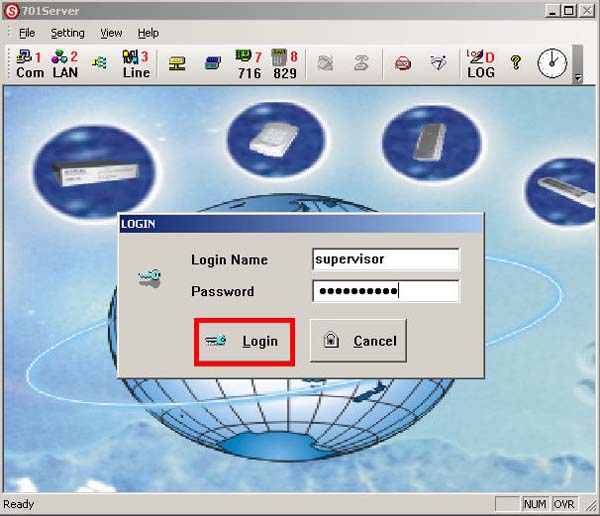
Then enter your username and password in the Login Name field and Password field
(Note: Default Login name: supervisor Password: supervisor)
After that, click the Login button
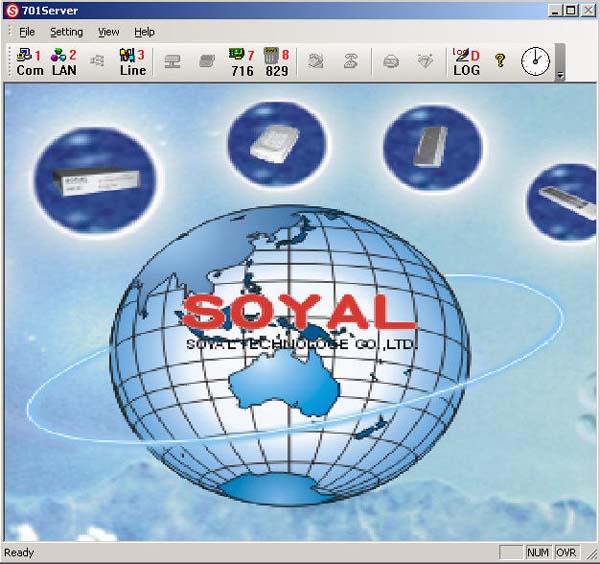
You will then enter the main menu page of 701 Server
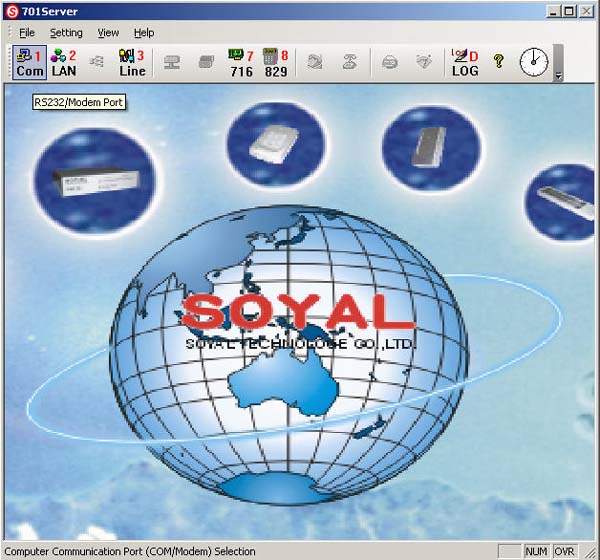
Select the Com menu (RS 232 / Modem Port)
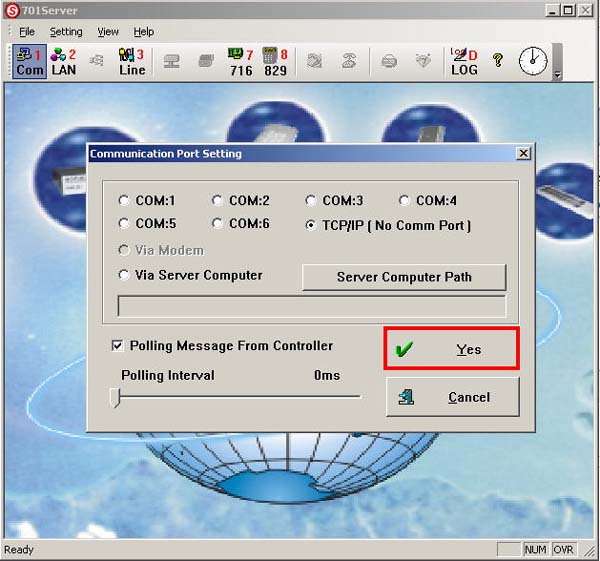
Select the type of connection. In this case, select TCP/IP connection, then set the values as shown in the image and click Yes
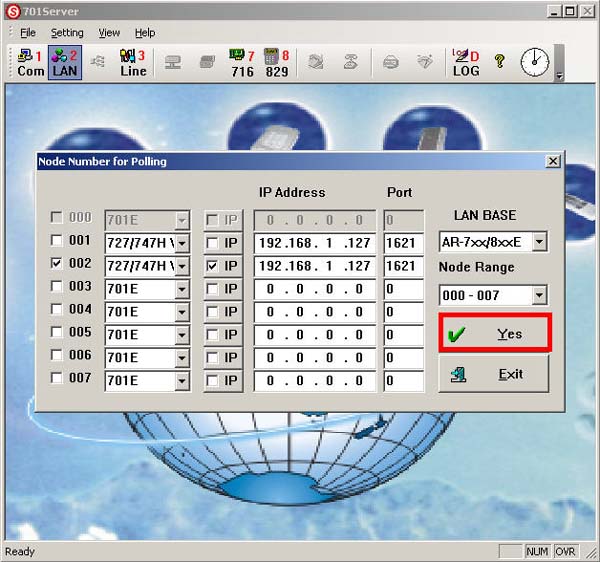
Go to the Lan menu
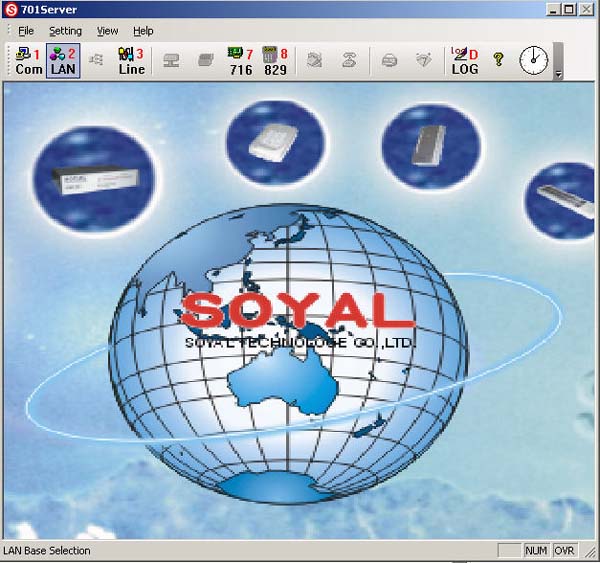
Select the type of device you want to use, then enter the IP Address. The Port will be (1621)
Then click Yes
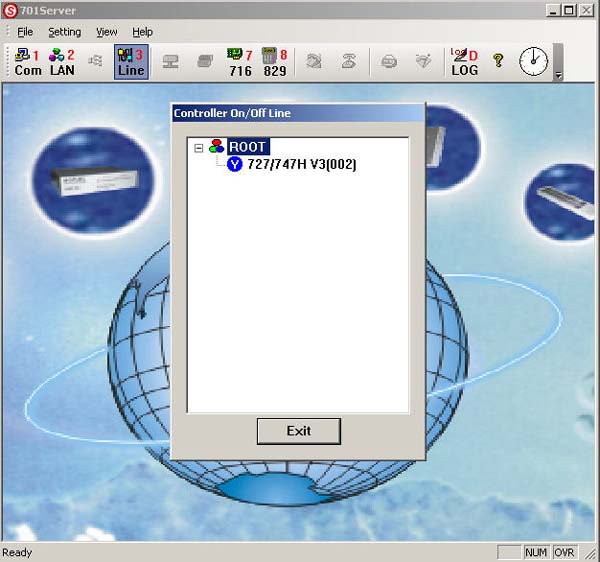
Then go to the Line menu to check if the connection was successful. If the symbol shows Y, it means the connection was successful
If the connection is not successful, check the values that were set
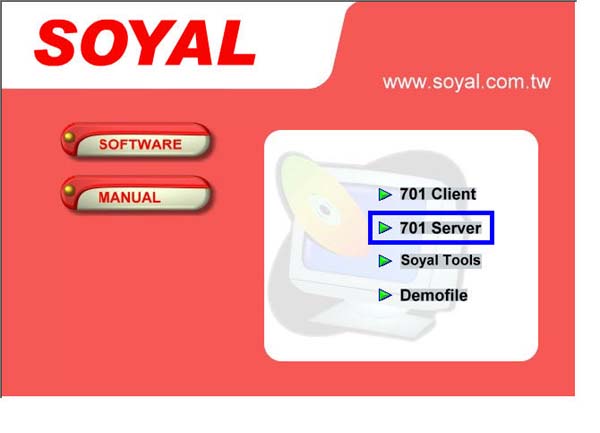
Select menu 701 Server
Click the Run button
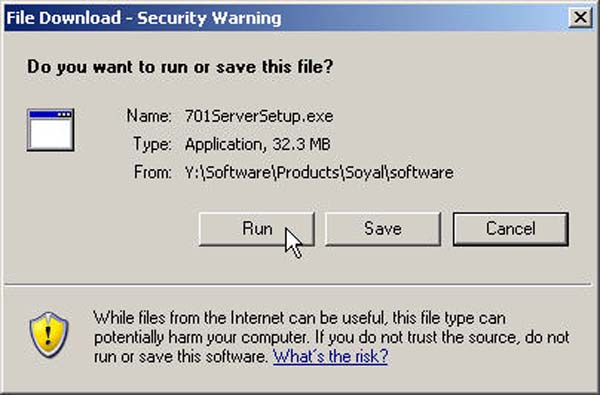
Click the Run button
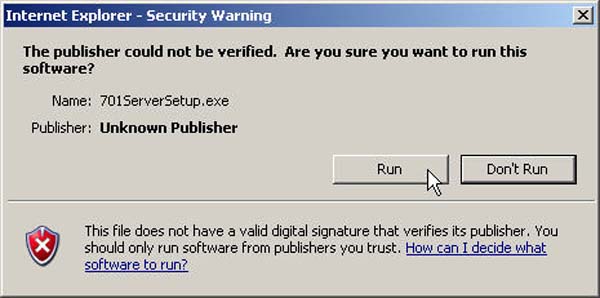
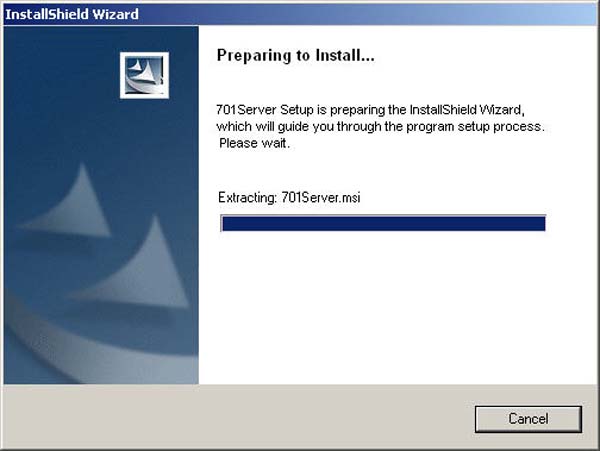
Click the Next button
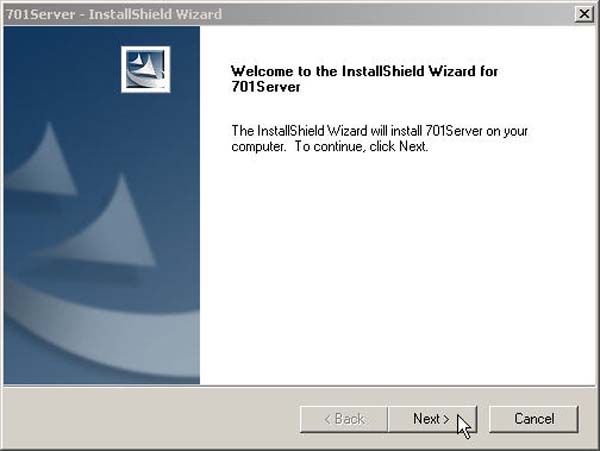
Click the Next button
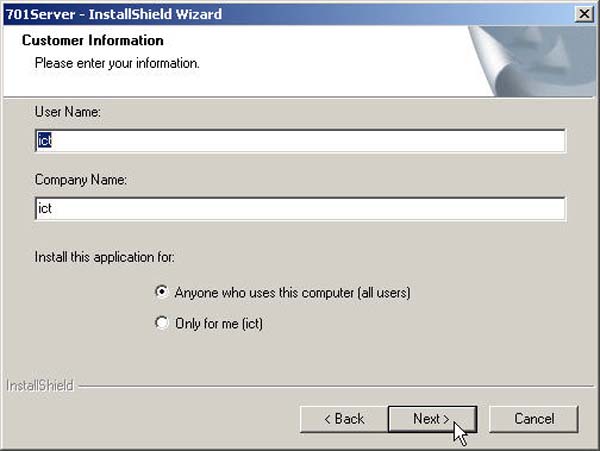
Click the Next button
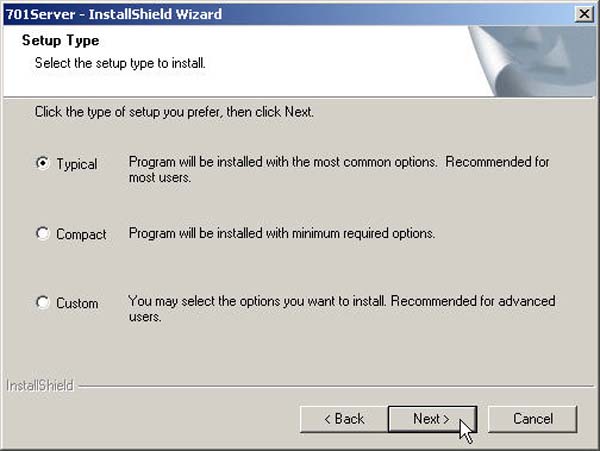
Click the Next button
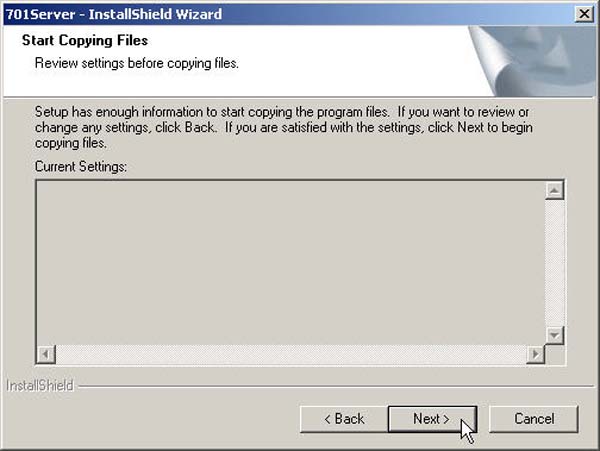
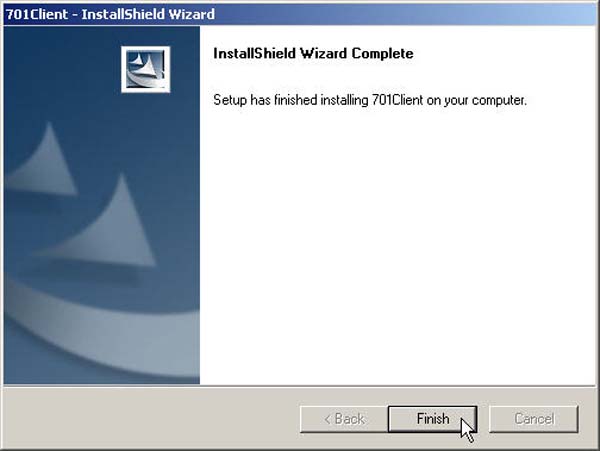
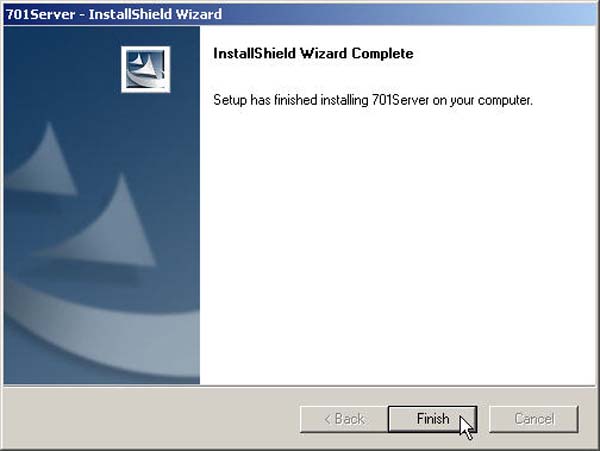
Then click the Finish button to complete the installation
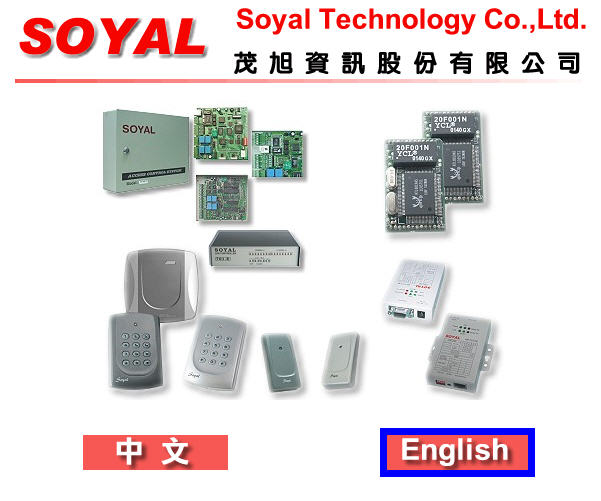
Insert the CD software disc into the computer and the machine will automatically start up
Select the menu as English
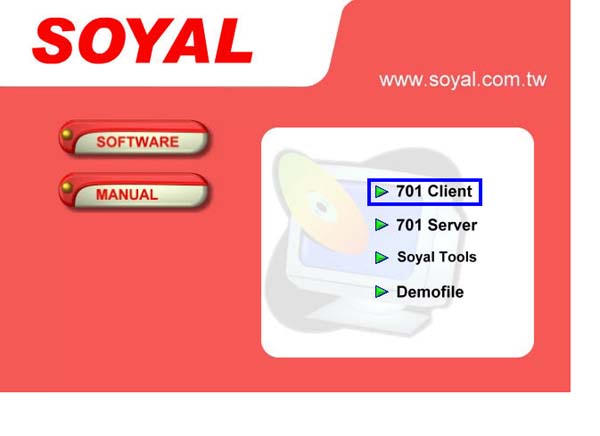
Then the screen will display a menu to select the installation steps for Software 701 Client
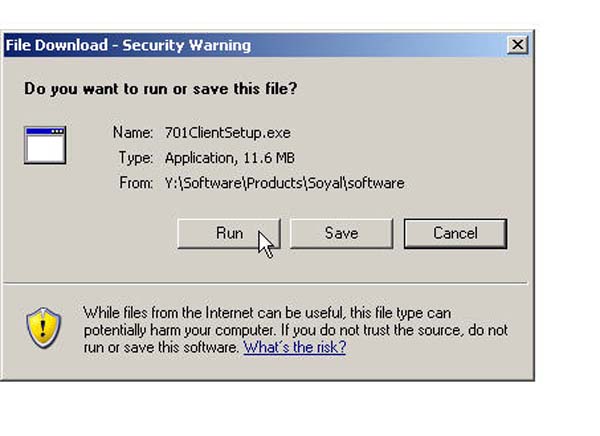
Click the Run button
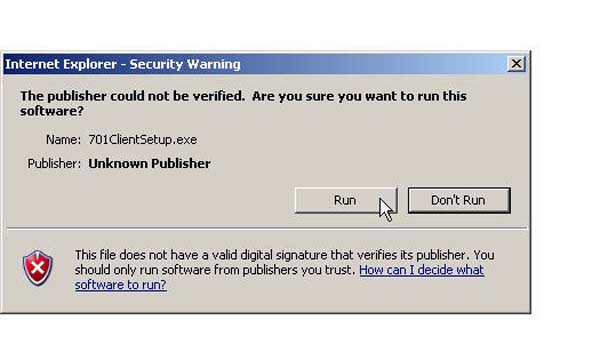
Click the Run button
Click the Next button
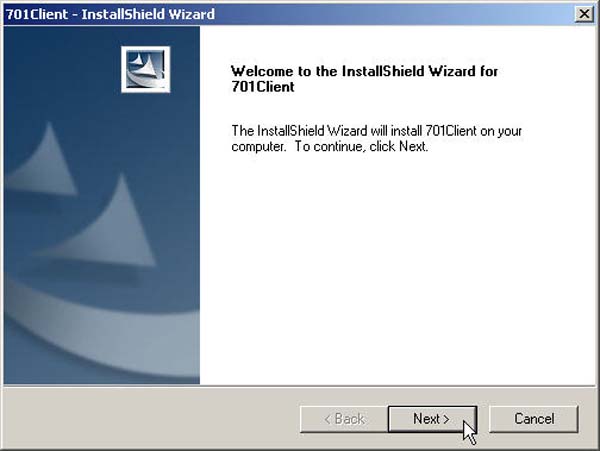
Click the Next button
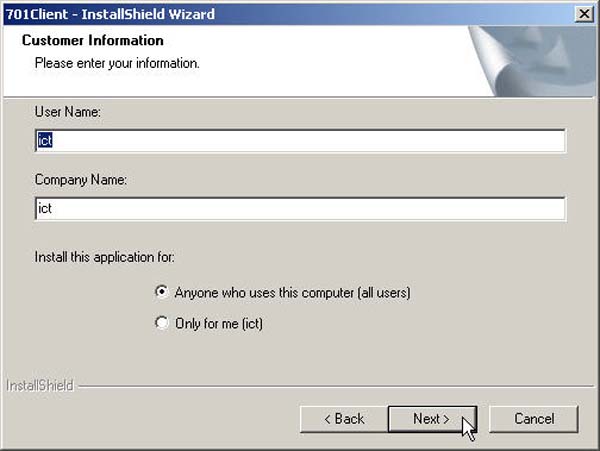
Click the Next button
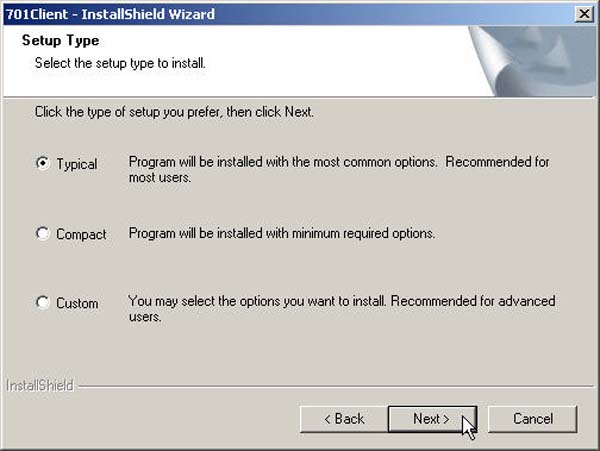
Click the Next button
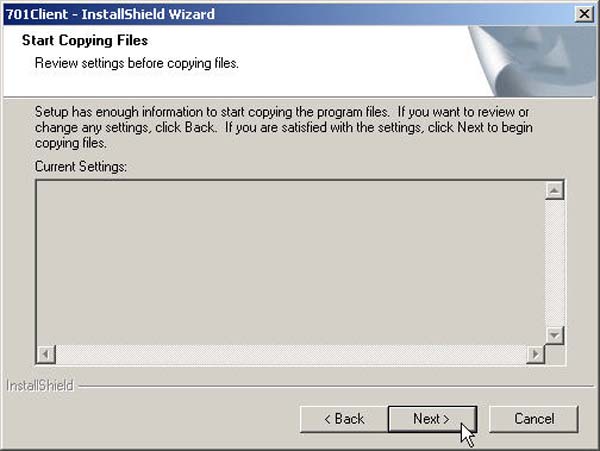
Then click the Finish button
Installation process is complete