How to Configure Various Settings on the WF-7 Scanner Face Unit
SearchThe System Information menu is used to view various information about the number of recorded fingerprints, scanning time
as well as various specifications of the device, model, serial number, time menu, which is easy to access information

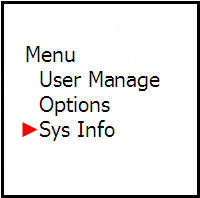
Under the System Information heading, there are 2 more menus where you can view device information
which are the Free Space menu and Device Information
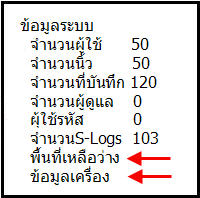
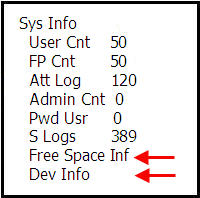
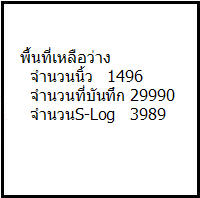
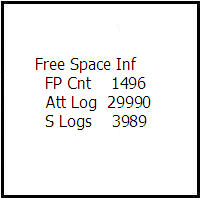
Under the Free Space menu, it will show the remaining space available to store fingerprint data or how many more records
can be stored
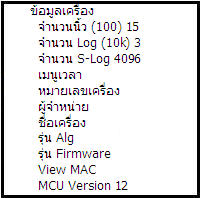
Under Device Information, it will show the device specifications, what model, various S-Log numbers

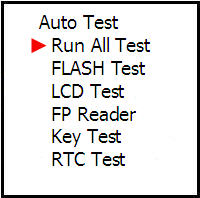
The Scanner Test Menu is a test of the readiness of the scanner system in each
menu such as buttons, display screen, or even button sounds. You can choose which tests
you want to perform, whether testing one menu at a time or testing everything all at once

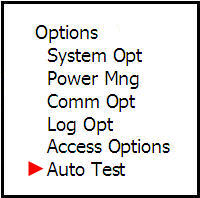





This menu is used to configure the scanner device system settings, such as date format and menu language.

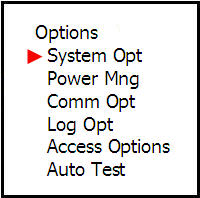
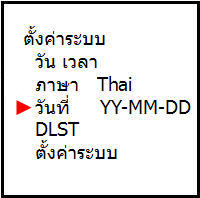
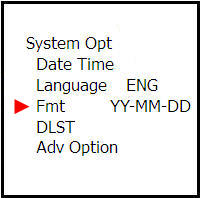
In this menu, there are also additional system settings that are important for the system, such as resetting the device.
Delete time log records or delete system administrators, and you can also adjust the button sound volume or turn off the sound completely.
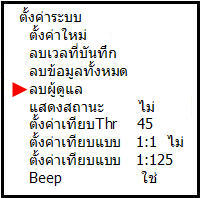
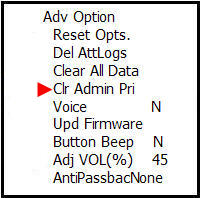
Press the Menu button, navigate to Settings and press the OK button

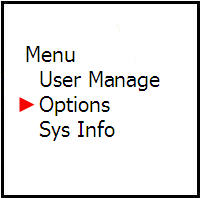
Select System Settings from the menu and press the OK button

Then navigate to System Settings and press the OK button
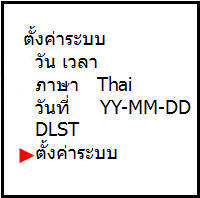
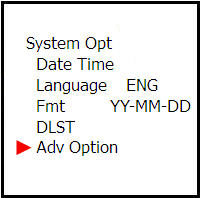
Navigate to the Delete Administrator menu and press the OK button
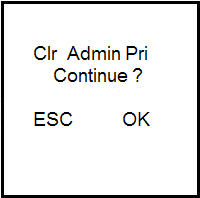
The system will then ask if you want to delete. Select OK and the administrator rights will be revoked
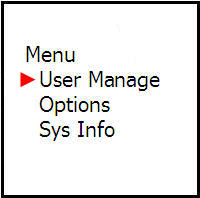
Press the Menu button, select Manage Users and press OK

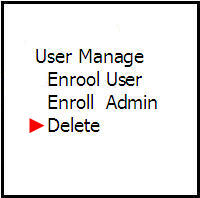
Scroll down to the Delete menu and press the OK button

Enter the ID number of the employee you want to delete
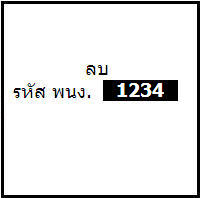
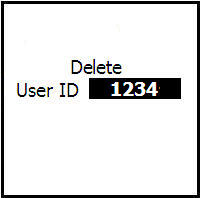
Press the OK button to confirm
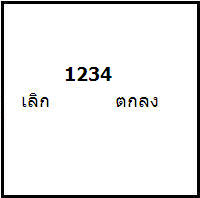
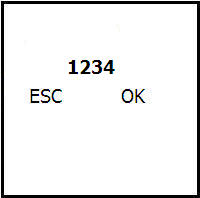
Then press OK again
Then the machine will ask if you want to delete it, press the OK button to confirm


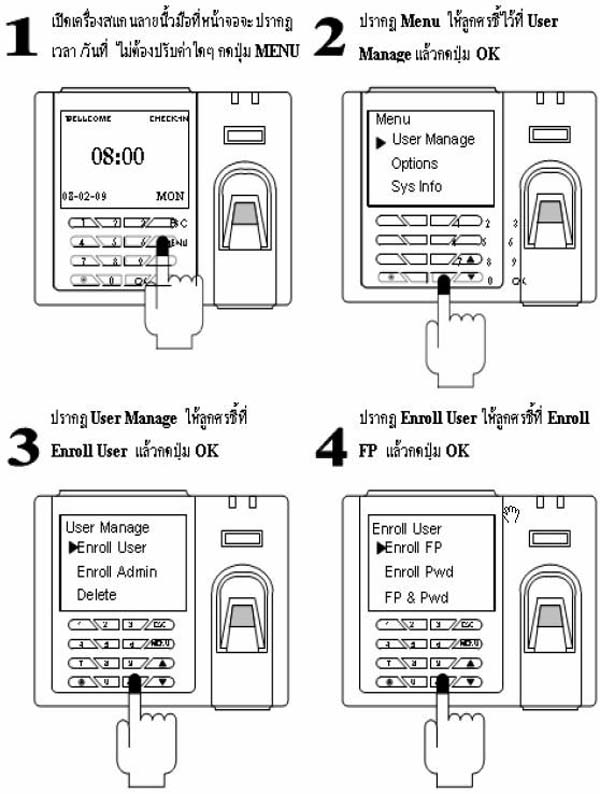
Press the Menu button on the scanner
Go to the User Management menu and press the OK button
Here you can choose whether to save a user or save an administrator
But in this case, select to save a user

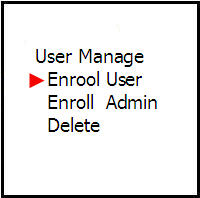
For this option, you can choose the storage method for what type of storage you want
But in this case, select storage as fingerprint only

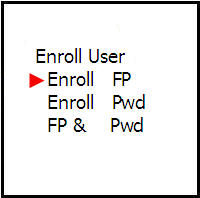
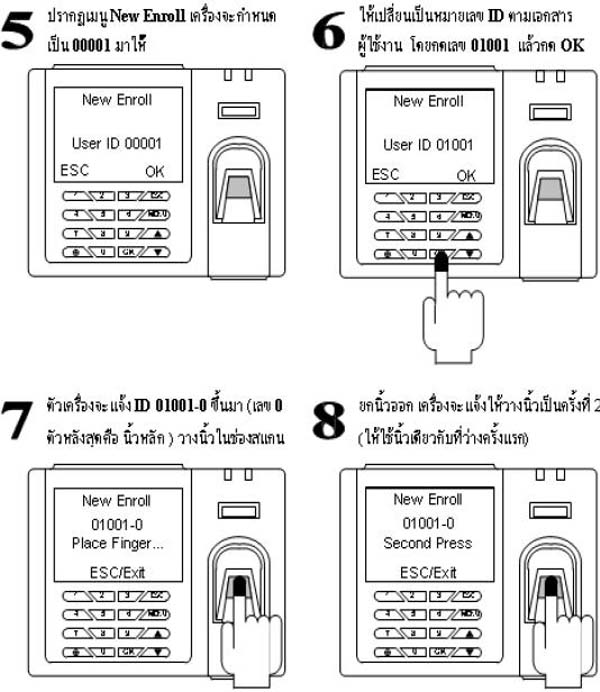
Then press the OK button to confirm


Then enter the employee number, not exceeding 5 digits

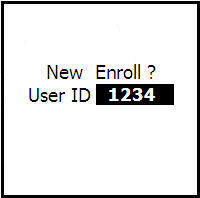
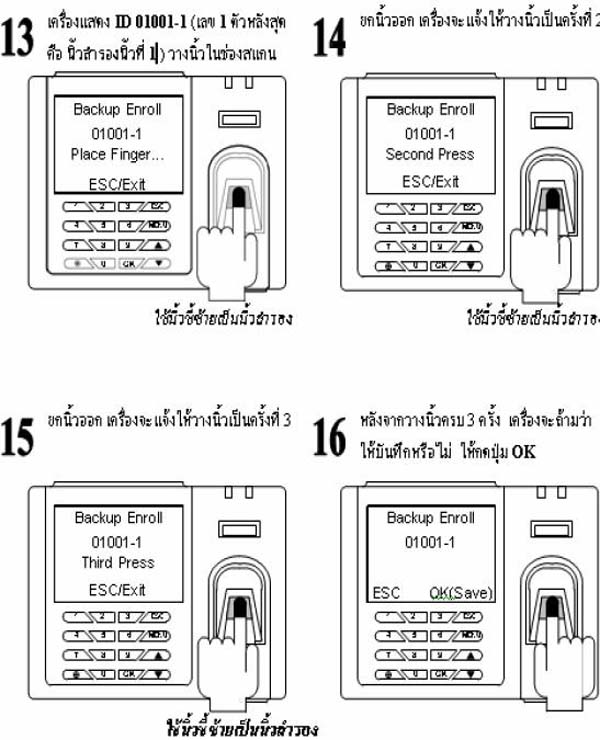
Then place your finger (it is recommended to use the index finger)
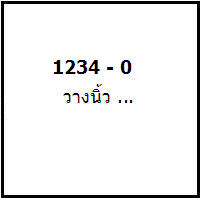
Then place your finger again
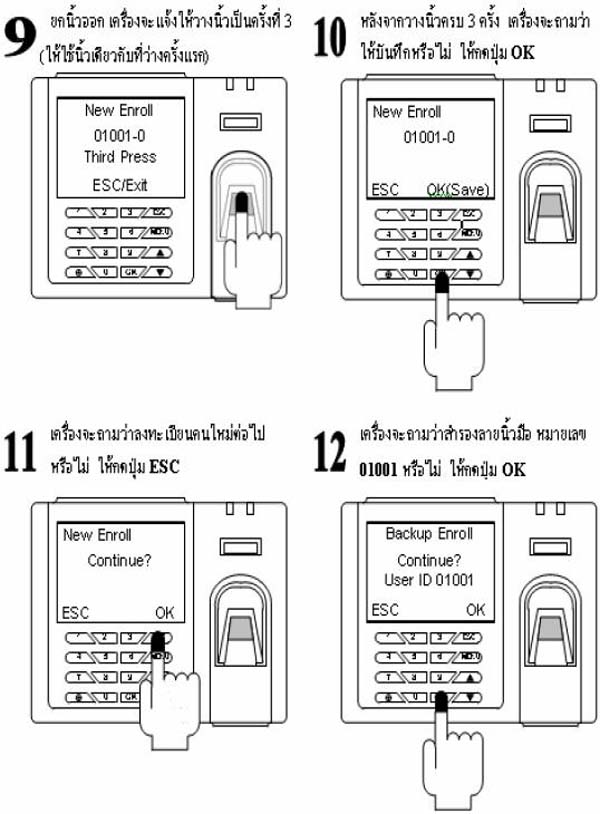
Place your finger for the 3rd time
Then the machine will ask you to save, press the OK button
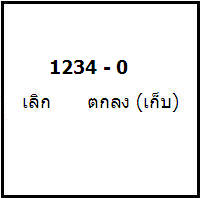
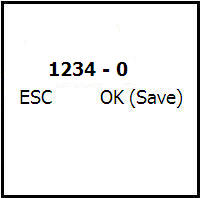
Then the machine will ask if you want to continue, if you want to save a backup fingerprint, press the ESC button
Or if you want to save a new person's fingerprint, press the OK button


Press the Menu button on the scanner and scroll down to the Settings menu
Then scroll down to the Pass Settings menu

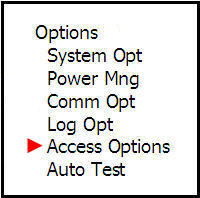
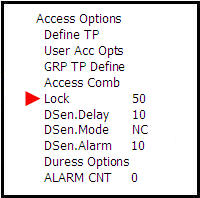
Lock Time menu 50 equals 2 seconds until the lock engages
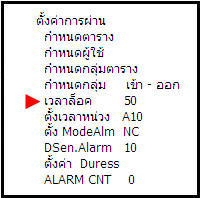
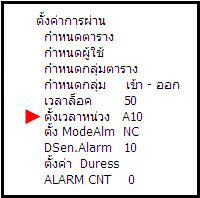
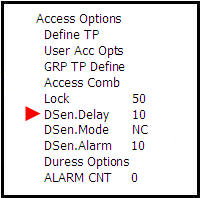
Time Delay menu is used to set the duration for keeping the door open before the alarm on the scanner sounds
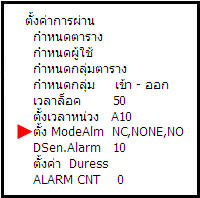
ModeAlm menu is used to set the Sensor NC, which means if the Sensor at the door is far apart, the alarm on the scanner will sound
NO means if the Sensor at the door is closed together, the alarm on the scanner will sound
NONE means if the door is left open for any amount of time, the scanner will not produce an alarm sound
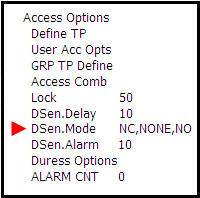
DSen.Alarm menu is for setting the duration of the Buzzer sound, specifying how long you want it to last
Following the scanner sound, for example if you set DSen.Alarm to 10 seconds and set the Time Delay to 10 seconds, combined they total 20 seconds
then the Buzzer will sound
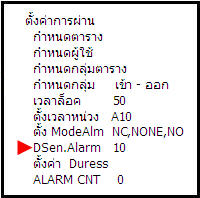
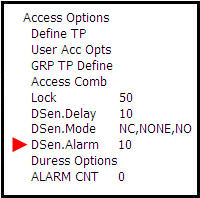
Press the Menu button on the scanner, scroll down to select Settings, and press the OK button
Select System Settings menu and press the OK button
Then scroll down to select System Settings menu and press the OK button
Navigate to the Beep menu and change from Yes to No, then press the OK button
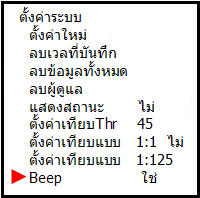
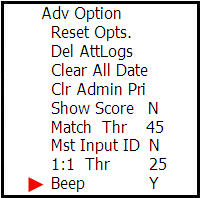
Then press the ESC button once. The system will ask if you want to save
Press the OK button to save


Press the Menu button and scroll down to select Settings and press OK
Select System Settings and press the OK button
Select the Date and Time menu and press the OK button
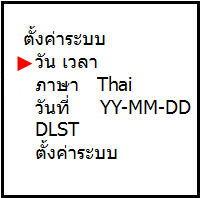
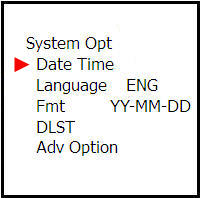
Then enter the date and time you want to set and press the OK button
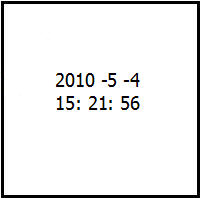
Scroll down to the Date menu, select the date format and press the OK button
When finished, press the ESC button once and the system will ask
if you want to save. Press the OK button to save
Press the Menu button, scroll down to Settings menu, and then press the OK button
Then scroll down to the Device Test menu and press the OK button
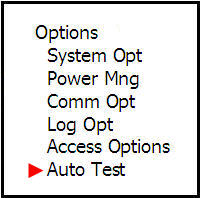
This screen will have topics to choose what you want to test
It is recommended to select Test All, then press OK
The system will display a message asking you to press the OK button


After that, the device will run and display the results showing
which parts failed after testing, then press the OK button
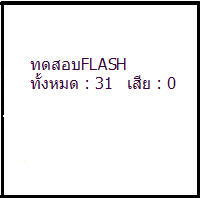
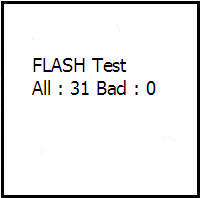
Press the OK button
Press the OK button
Press the OK button
Press the OK button
Press the OK button


On this screen, press the various buttons on the scanner device to check if all buttons are working. When finished, press the OK button

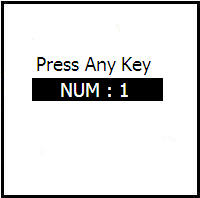
Then press the OK button


Completed the scanner device test procedure
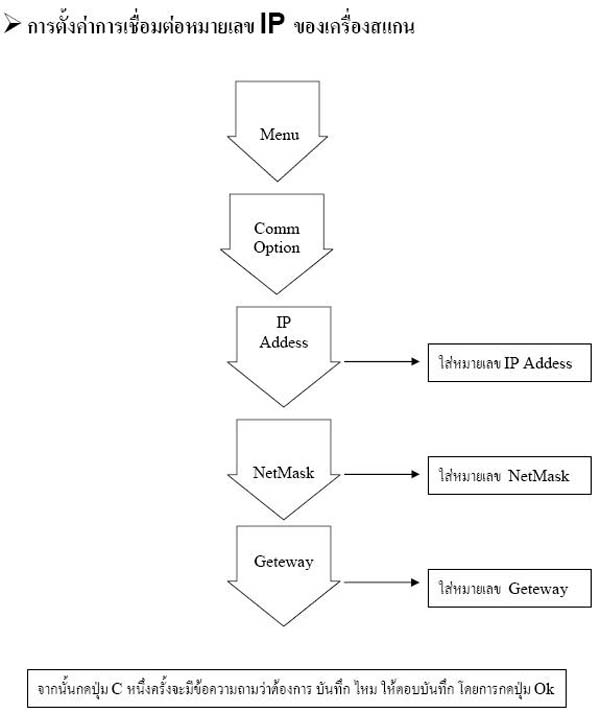
Click the menu button on the scanner to enter the menu
(If you press the menu button and the scanner asks about the administrator, perform a fingerprint scan or enter the admin code for this device)
Press the down arrow button to navigate to the Settings menu and then press the OK button
Scroll down to the Connection Settings menu and then press the OK button

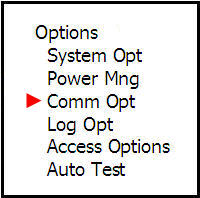
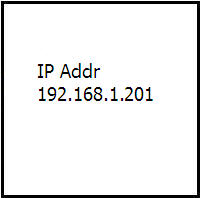
Scroll down to the IP Address menu and then press the OK button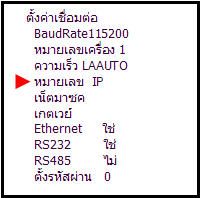
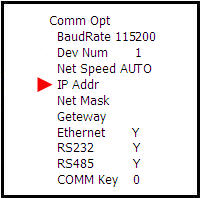
Enter the IP address on this page and then press the OK button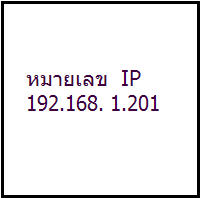
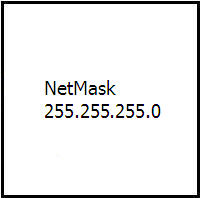
Scroll down to the Netmask menu and then press the OK button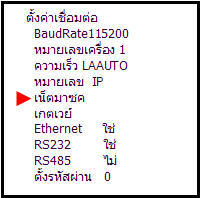
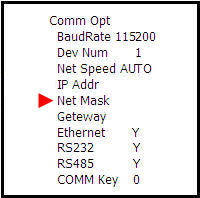
Then enter the netmask number and then press the OK button
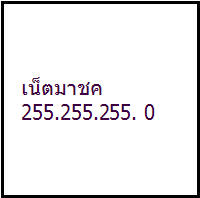
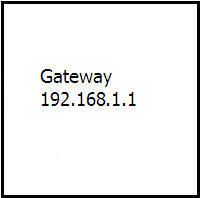
Scroll down to the Gateway menu and then press the OK button
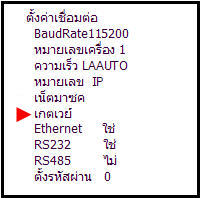
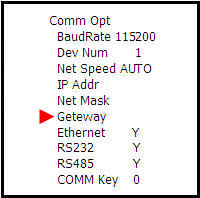
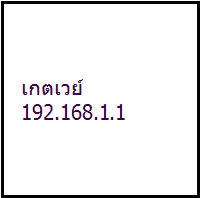
Then enter the gateway number and then press the OK button
Then press the ESC button once. The system will ask if you want to save
Press the OK button to save the settings