Various Setup Methods on BS-100 Scanner (Monochrome Display)
SearchPress the Menu button and scroll down to select Settings and press OK
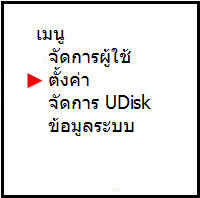
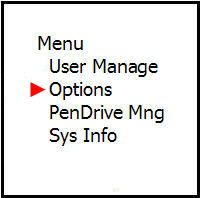
Select System Settings and press the OK button

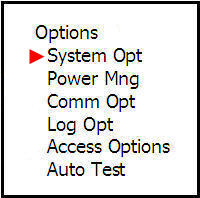
Then scroll down and select System Settings menu and press the OK button
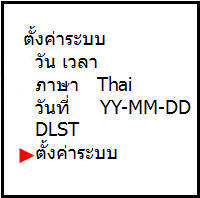
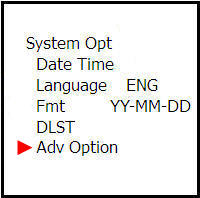
Scroll down and select Delete Recorded Time menu and press the OK button
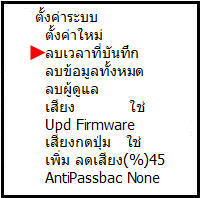
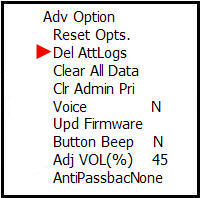
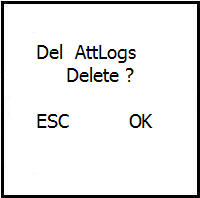
Then the device will ask if you want to delete the time, press the OK button to confirm

Press the Menu button, scroll down to Settings, then press OK
Then scroll down to Device Test menu, then press OK

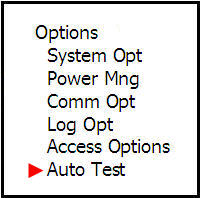
This screen will have a heading for you to select what you want to test It is recommended to select Test All, then press OK The system will display a message, press OK 
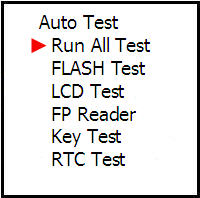


Then the device will run and display the results showing
which parts are defective after testing, then press OK
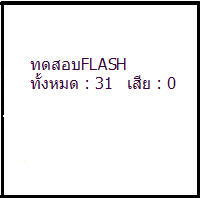

Press OK

Press OK

Press OK

Press OK

Press OK


On this screen, press the various buttons on the device to check if all buttons are working properly, then press OK

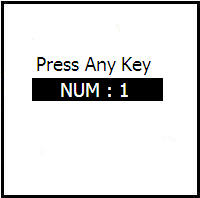
Then press OK


Press the Menu button, navigate to Settings menu and press OK button
Navigate to the Power On/Off Settings menu and press OK button

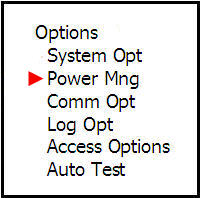
Then go to the Power On menu to set the automatic power on time
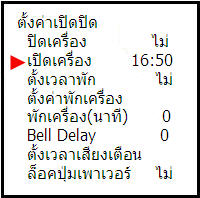
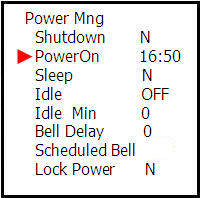
Go to the Rest Time Settings menu to set what time you want the screen to go into rest mode
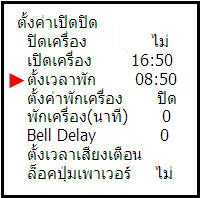
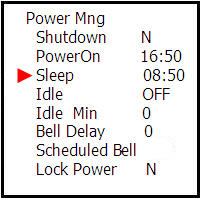
Then go to the Device Rest Settings menu and choose whether to put the device in rest mode or turn it off
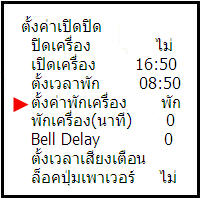
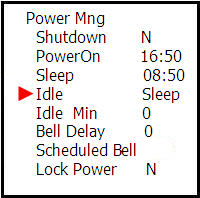
Then press the ESC button once and press OK button to save the settings


Press the Menu button, select Manage Users and press OK
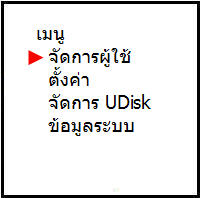
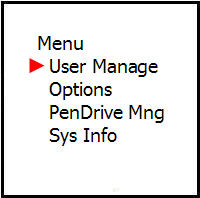
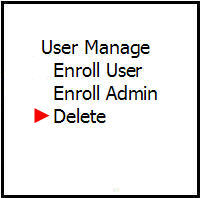
Scroll down to the Delete menu and press OK
Enter the ID number of the employee you want to delete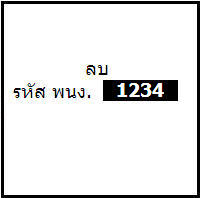
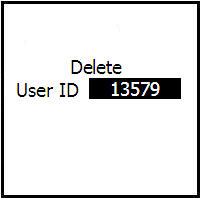
Press OK to confirm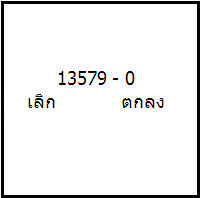
Then press OK again
The machine will then ask if you want to delete, press OK to confirm

Press the Menu button, navigate to Settings menu and press the OK button
Select System Settings menu and press the OK button
Then navigate to System Settings menu and press the OK button
Navigate to Delete Administrator menu and press the OK button
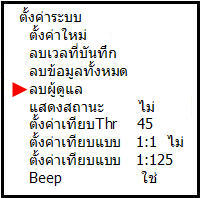
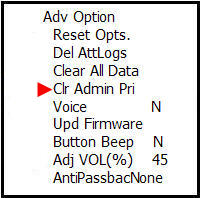
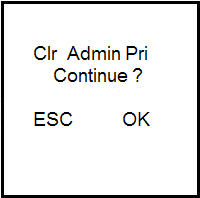
The system will then ask if you want to delete, select OK
and the administrator rights will be revoked

Press the Menu button then scroll down to select Settings and press OK
Select System Settings and press the OK button
Select the Date and Time menu and press the OK button
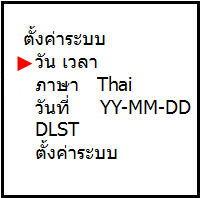
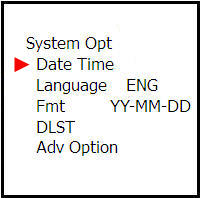
Then enter the date and time you want to set and press the OK button
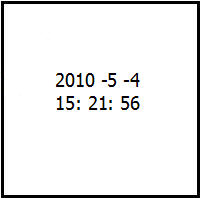
Scroll down to the Date menu, select the date format and press the OK button
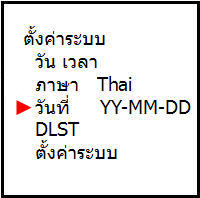
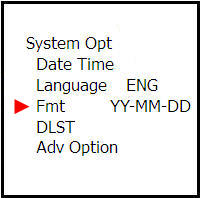
When finished, press the ESC button once and the system will ask if you want to save. Press the OK button to save
Click the menu button on the scanner to enter the menu
(If you press the menu button and the machine asks about the administrator, perform a fingerprint scan or enter the admin code for this machine)
Press the down arrow button to scroll to the Settings menu and then press the OK button
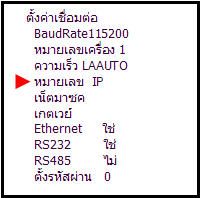
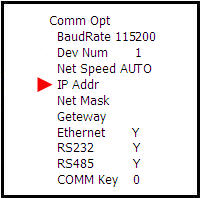
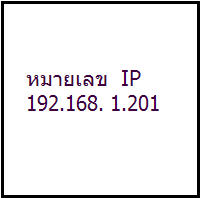
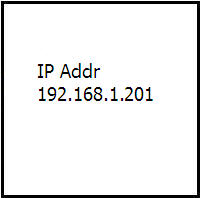
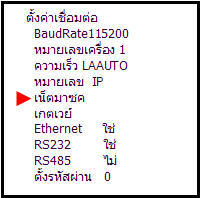
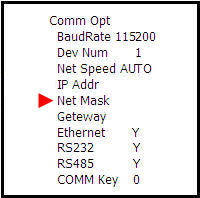
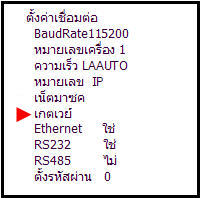
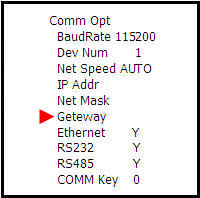
Scroll down to the Connection Settings menu and then press the OK button Scroll down to the IP Address menu and then press the OK button Enter the IP address on this page and then press the OK button Scroll down to the Netmask menu and then press the OK button
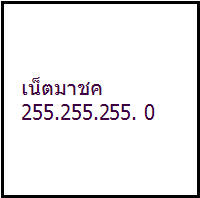
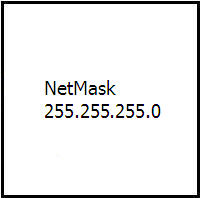
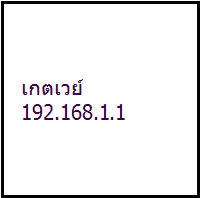
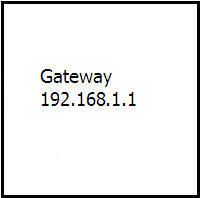
Then enter the netmask number and then press the OK button Scroll down to the Gateway menu and then press the OK button
Then enter the gateway number and then press the OK button
Then press the ESC button once and the system will ask if you want to save Press the Ok button to save the settings
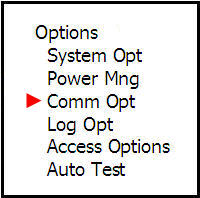
Press the menu scroll button, scroll down to select the Manage UDisk menu, then press the OK button
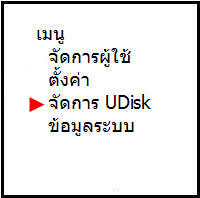
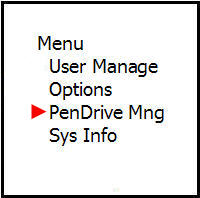
Then select the Pull Time Record menu and press the OK button
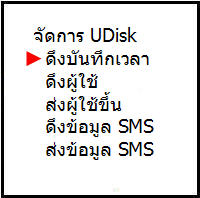
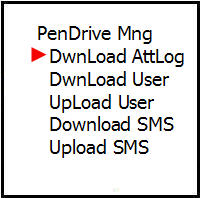
The screen displays that the data pull was successful, then press the OK button


Then scroll to the Pull User menu to pull various user data and press the OK button
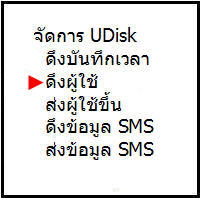
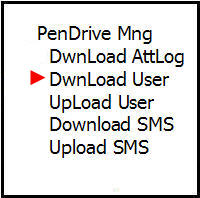
The screen displays that the data pull was successful, then press the OK button
Press the MENU button on the scanner
Go to the User Management menu and press OK
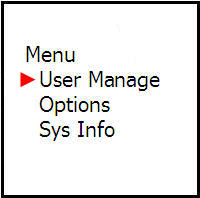
Here you can choose whether to save as a user or save as an administrator But here we select save as a user

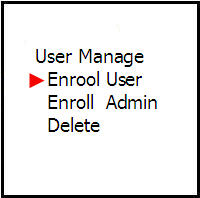
For this section, you can choose the storage method of how you want to store But here select the storage method as fingerprint only
Then press the OK button to confirm Then enter the employee number, no more than 5 digits Then place your finger (recommended to use the index finger) Then place your finger again Place your finger for the 3rd time Then the machine will ask you to save. Press OK
Then the machine will ask if you want to continue. If you want to save a backup fingerprint, press ESC Or if you want to save a new person's fingerprint, press OK
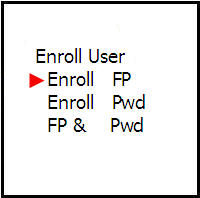


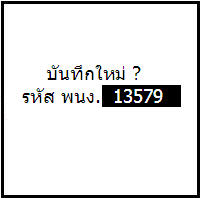
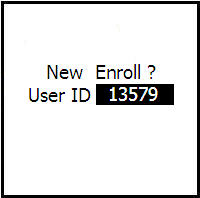
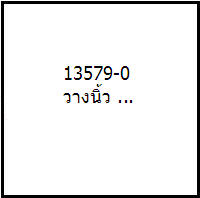
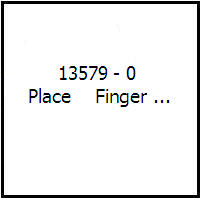
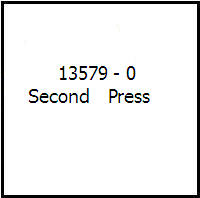
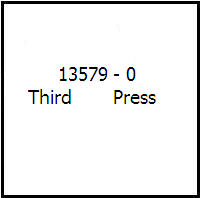
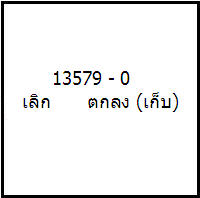
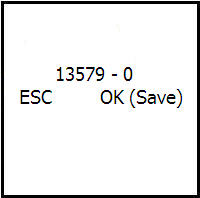


Press the Menu button on the scanner to select User Management, then press OK
Then scroll down to the Administrator Record menu and press OK


For this section, you can choose what type of storage you want to use But here, select storage as Fingerprint Only


Then press the down arrow button to select as Super Administrator, then press OK
(It is recommended to select this level because it can manage all menus on the scanner)


Then the machine will ask if you want to create a new record. Press OK to confirm


Enter the user's ID number, then press OK
Then place your finger (it is recommended to save using your index finger)
Then place your finger again
Place your finger a third time
Then the machine will ask you to save. Press OK
Then the machine will ask if you want to continue. If you want to save a backup fingerprint, press ESC Or if you want to save a new person's fingerprint, press OK